Set up NCP Account
Configure your NCP account settings before connecting to CloudOps.
NCP integration uses API authentication keys (Access Key / Secret Key) issued from the NCP portal. Follow the guide below to create and configure the required credentials.
Prerequisites
- An NCP (Naver Cloud Platform) account with an active subscription
- Access to the NCP portal (https://www.ncloud.com)
Issue API Authentication Keys
Log in to the NCP portal
Go to NCP Console and sign in with your NCP account.
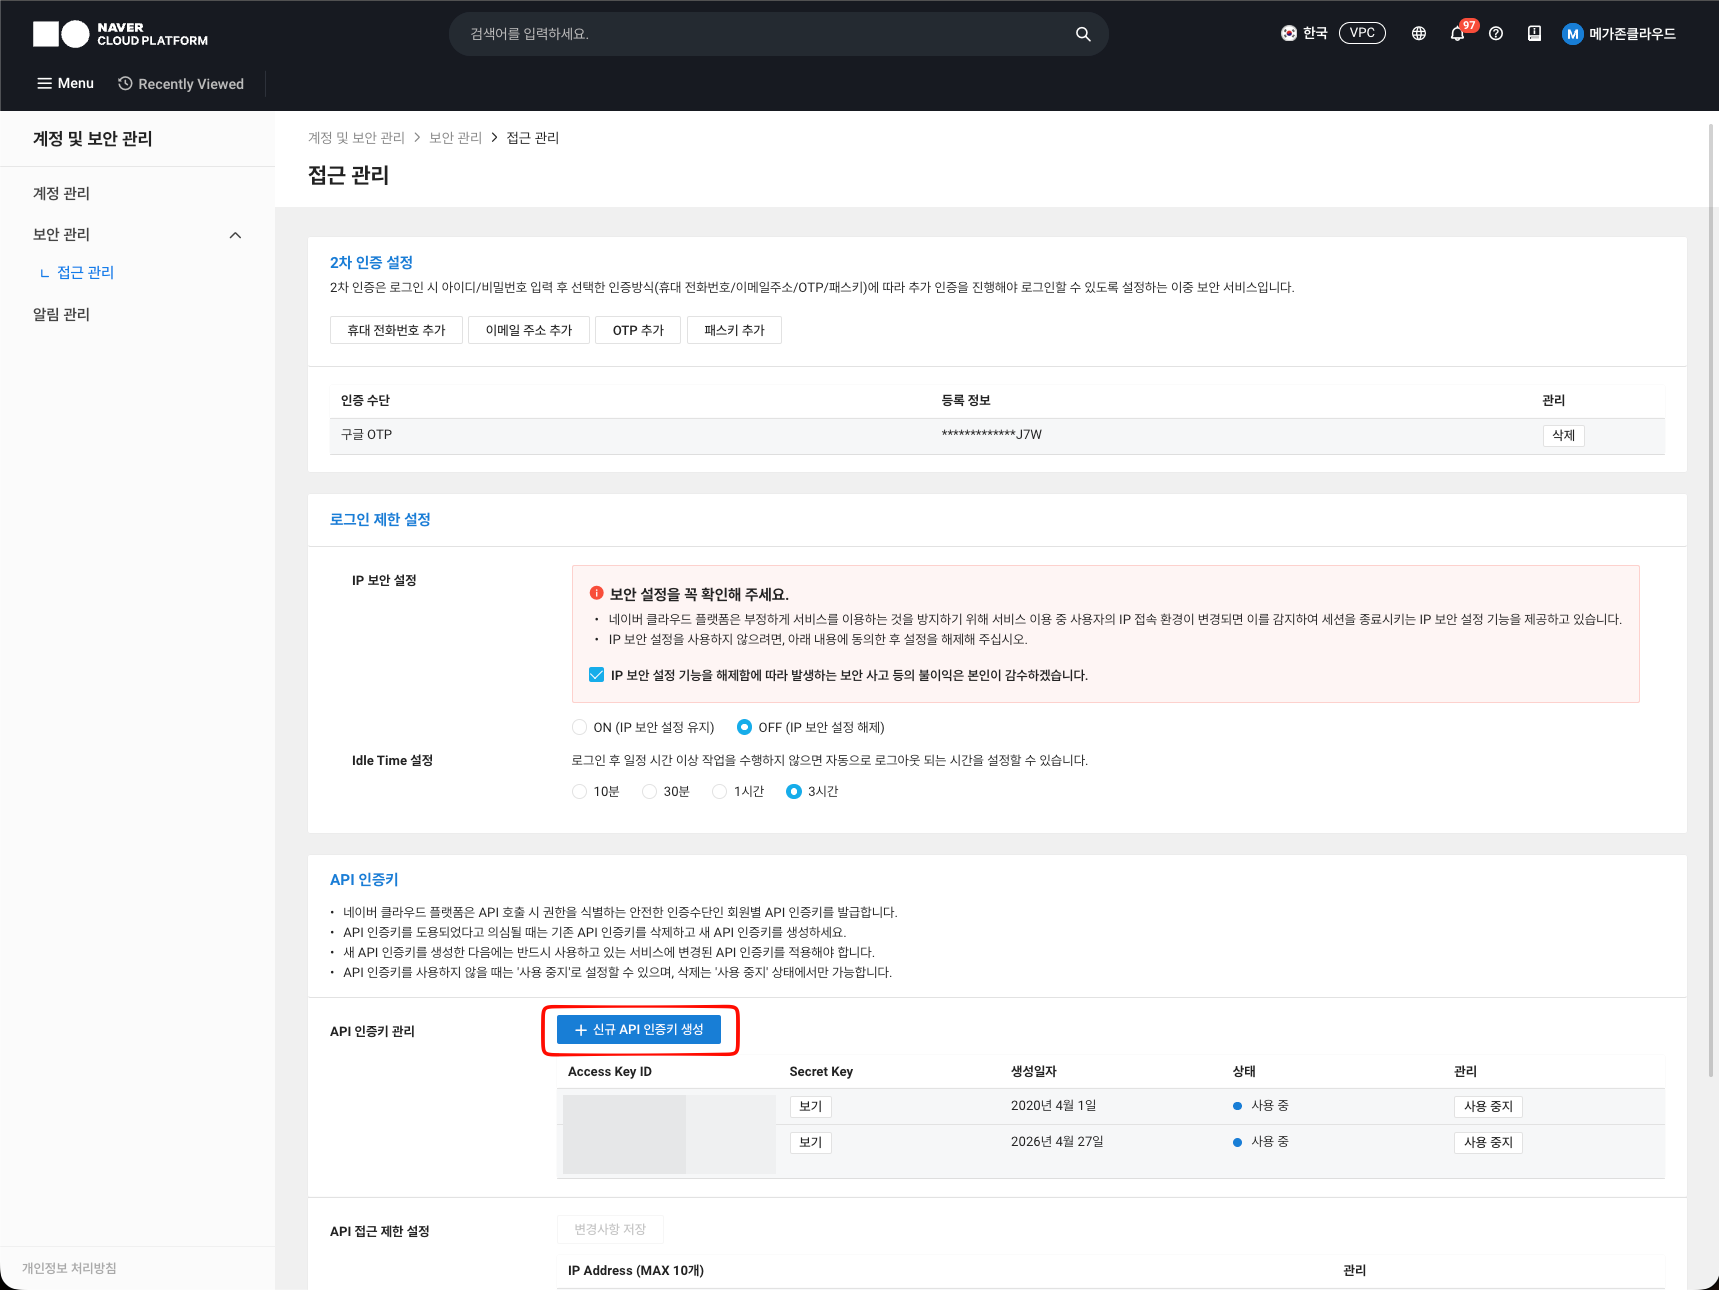
Navigate to My Page > Manage Auth Key
From the top-right menu, click your profile and select My Page. Then navigate to Manage Auth Key (인증키 관리).
Create a new API key
Click Create New API Key to generate an Access Key and Secret Key pair.
⚠️
The Secret Key is shown only once at creation time. Copy and store it securely. If lost, you must create a new key pair.
Record the credentials
Note the following values — you will enter them in CloudOps:
| Field | Description |
|---|---|
| Access Key | The API Access Key ID issued from the NCP portal. |
| Secret Key | The API Secret Key paired with the Access Key. |
Platform Types
NCP supports three platform types. Select the one matching your subscription when registering in CloudOps:
| Platform Type | Description |
|---|---|
| PUB | NCP Public — standard public cloud environment. |
| GOV | NCP Government — government-certified cloud environment. |
| FIN | NCP Finance — financial sector-certified cloud environment. |
ℹ️
The platform type determines the API endpoints and available services. Make sure to select the correct type that matches your NCP subscription.