Integrate NCP to CloudOps
This guide walks you through connecting an NCP (Naver Cloud Platform) account to CloudOps for resource collection.
Prerequisites
Before connecting an NCP account to CloudOps, you must set up the API authentication keys in the NCP portal.
The Access Key and Secret Key issued from the NCP portal are required for the Credentials section below.
Account Type
NCP supports only the General Account type with Direct (Access Key) connection method. Unlike AWS, Azure, or Google Cloud, NCP does not support Root Account or Delegated (Assumed Role) connections.
Register a Cloud Account
In the CloudOps console, navigate to [Settings > Cloud Account] and click the [Connect Account] dropdown. Select General Account to open the registration page.
The registration page consists of a 4-step accordion wizard (Provider → Account Info → Verify → Save), with a Progress panel on the right to track your status.
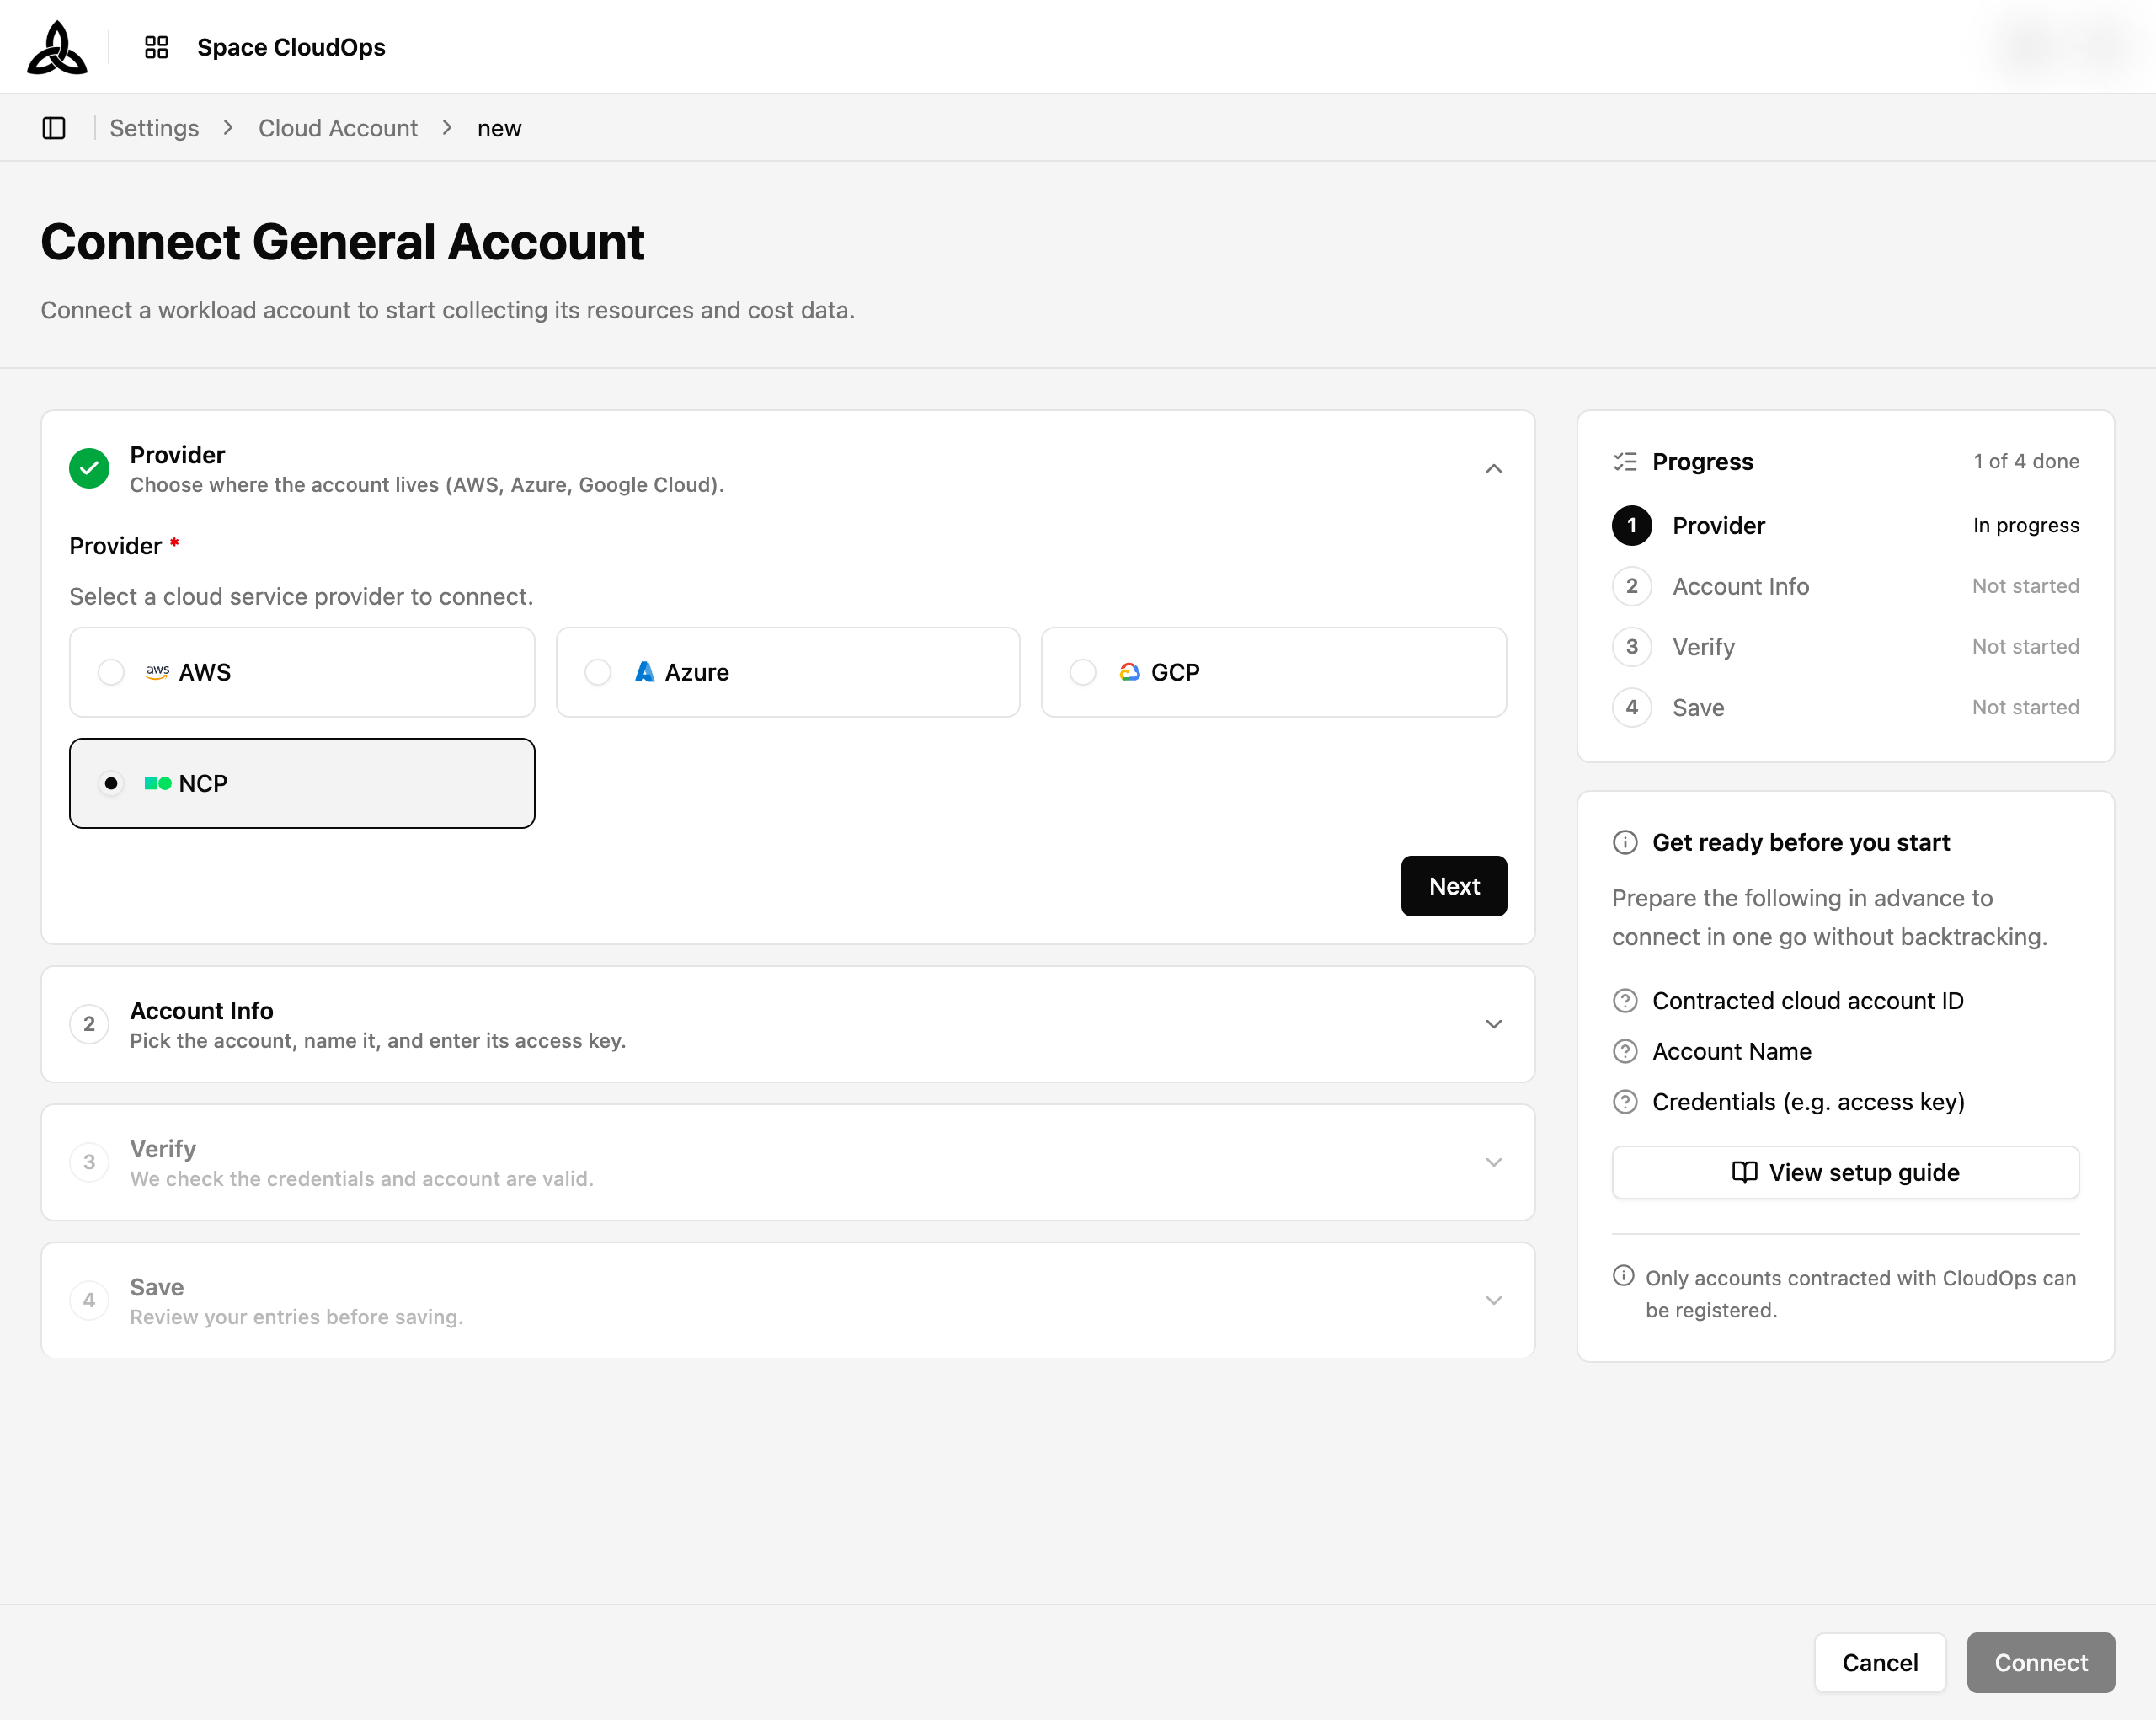
Select Provider
Select NCP and click [Next].
Enter Account Information
Since NCP only supports Direct (Access Key) connection, no connection method selection is required. Enter the following information:
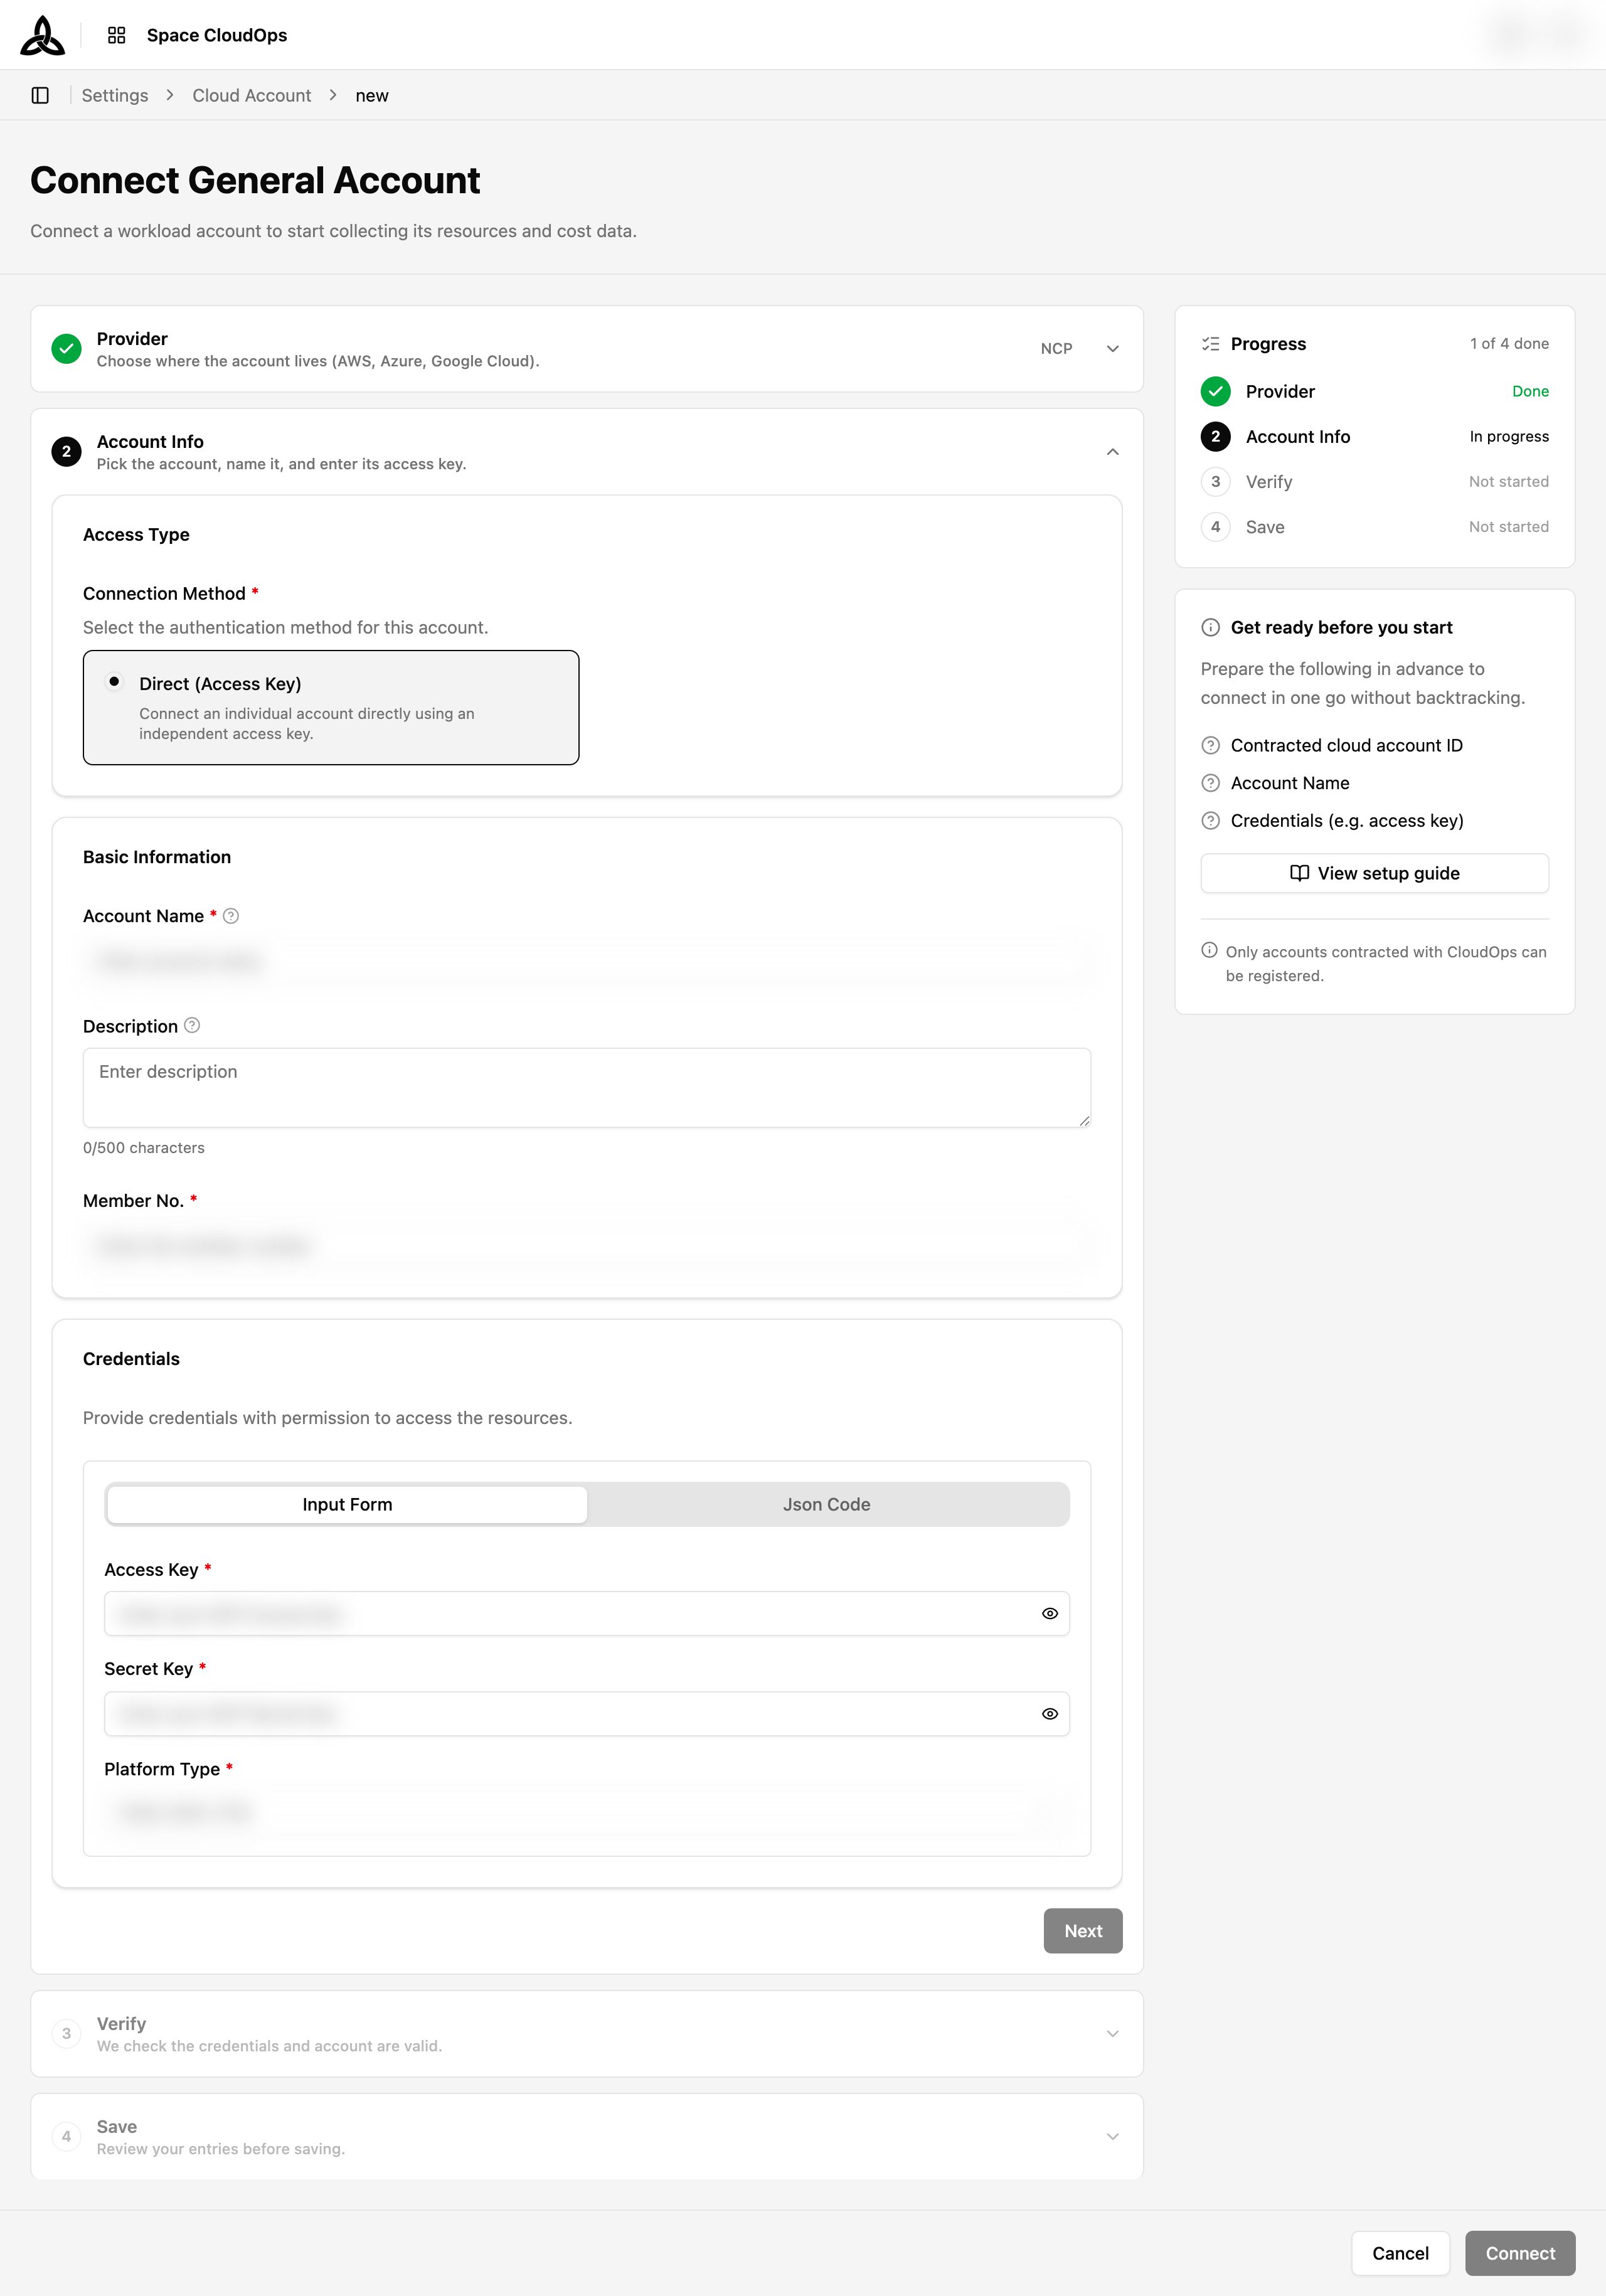
| Field | Required | Description |
|---|---|---|
| Account Name | Yes | A display name for this NCP account in CloudOps. |
| Description | No | Optional description for the account. |
| Member No. | Yes | The NCP member number, auto-filled from the account to register. |
Enter Credentials
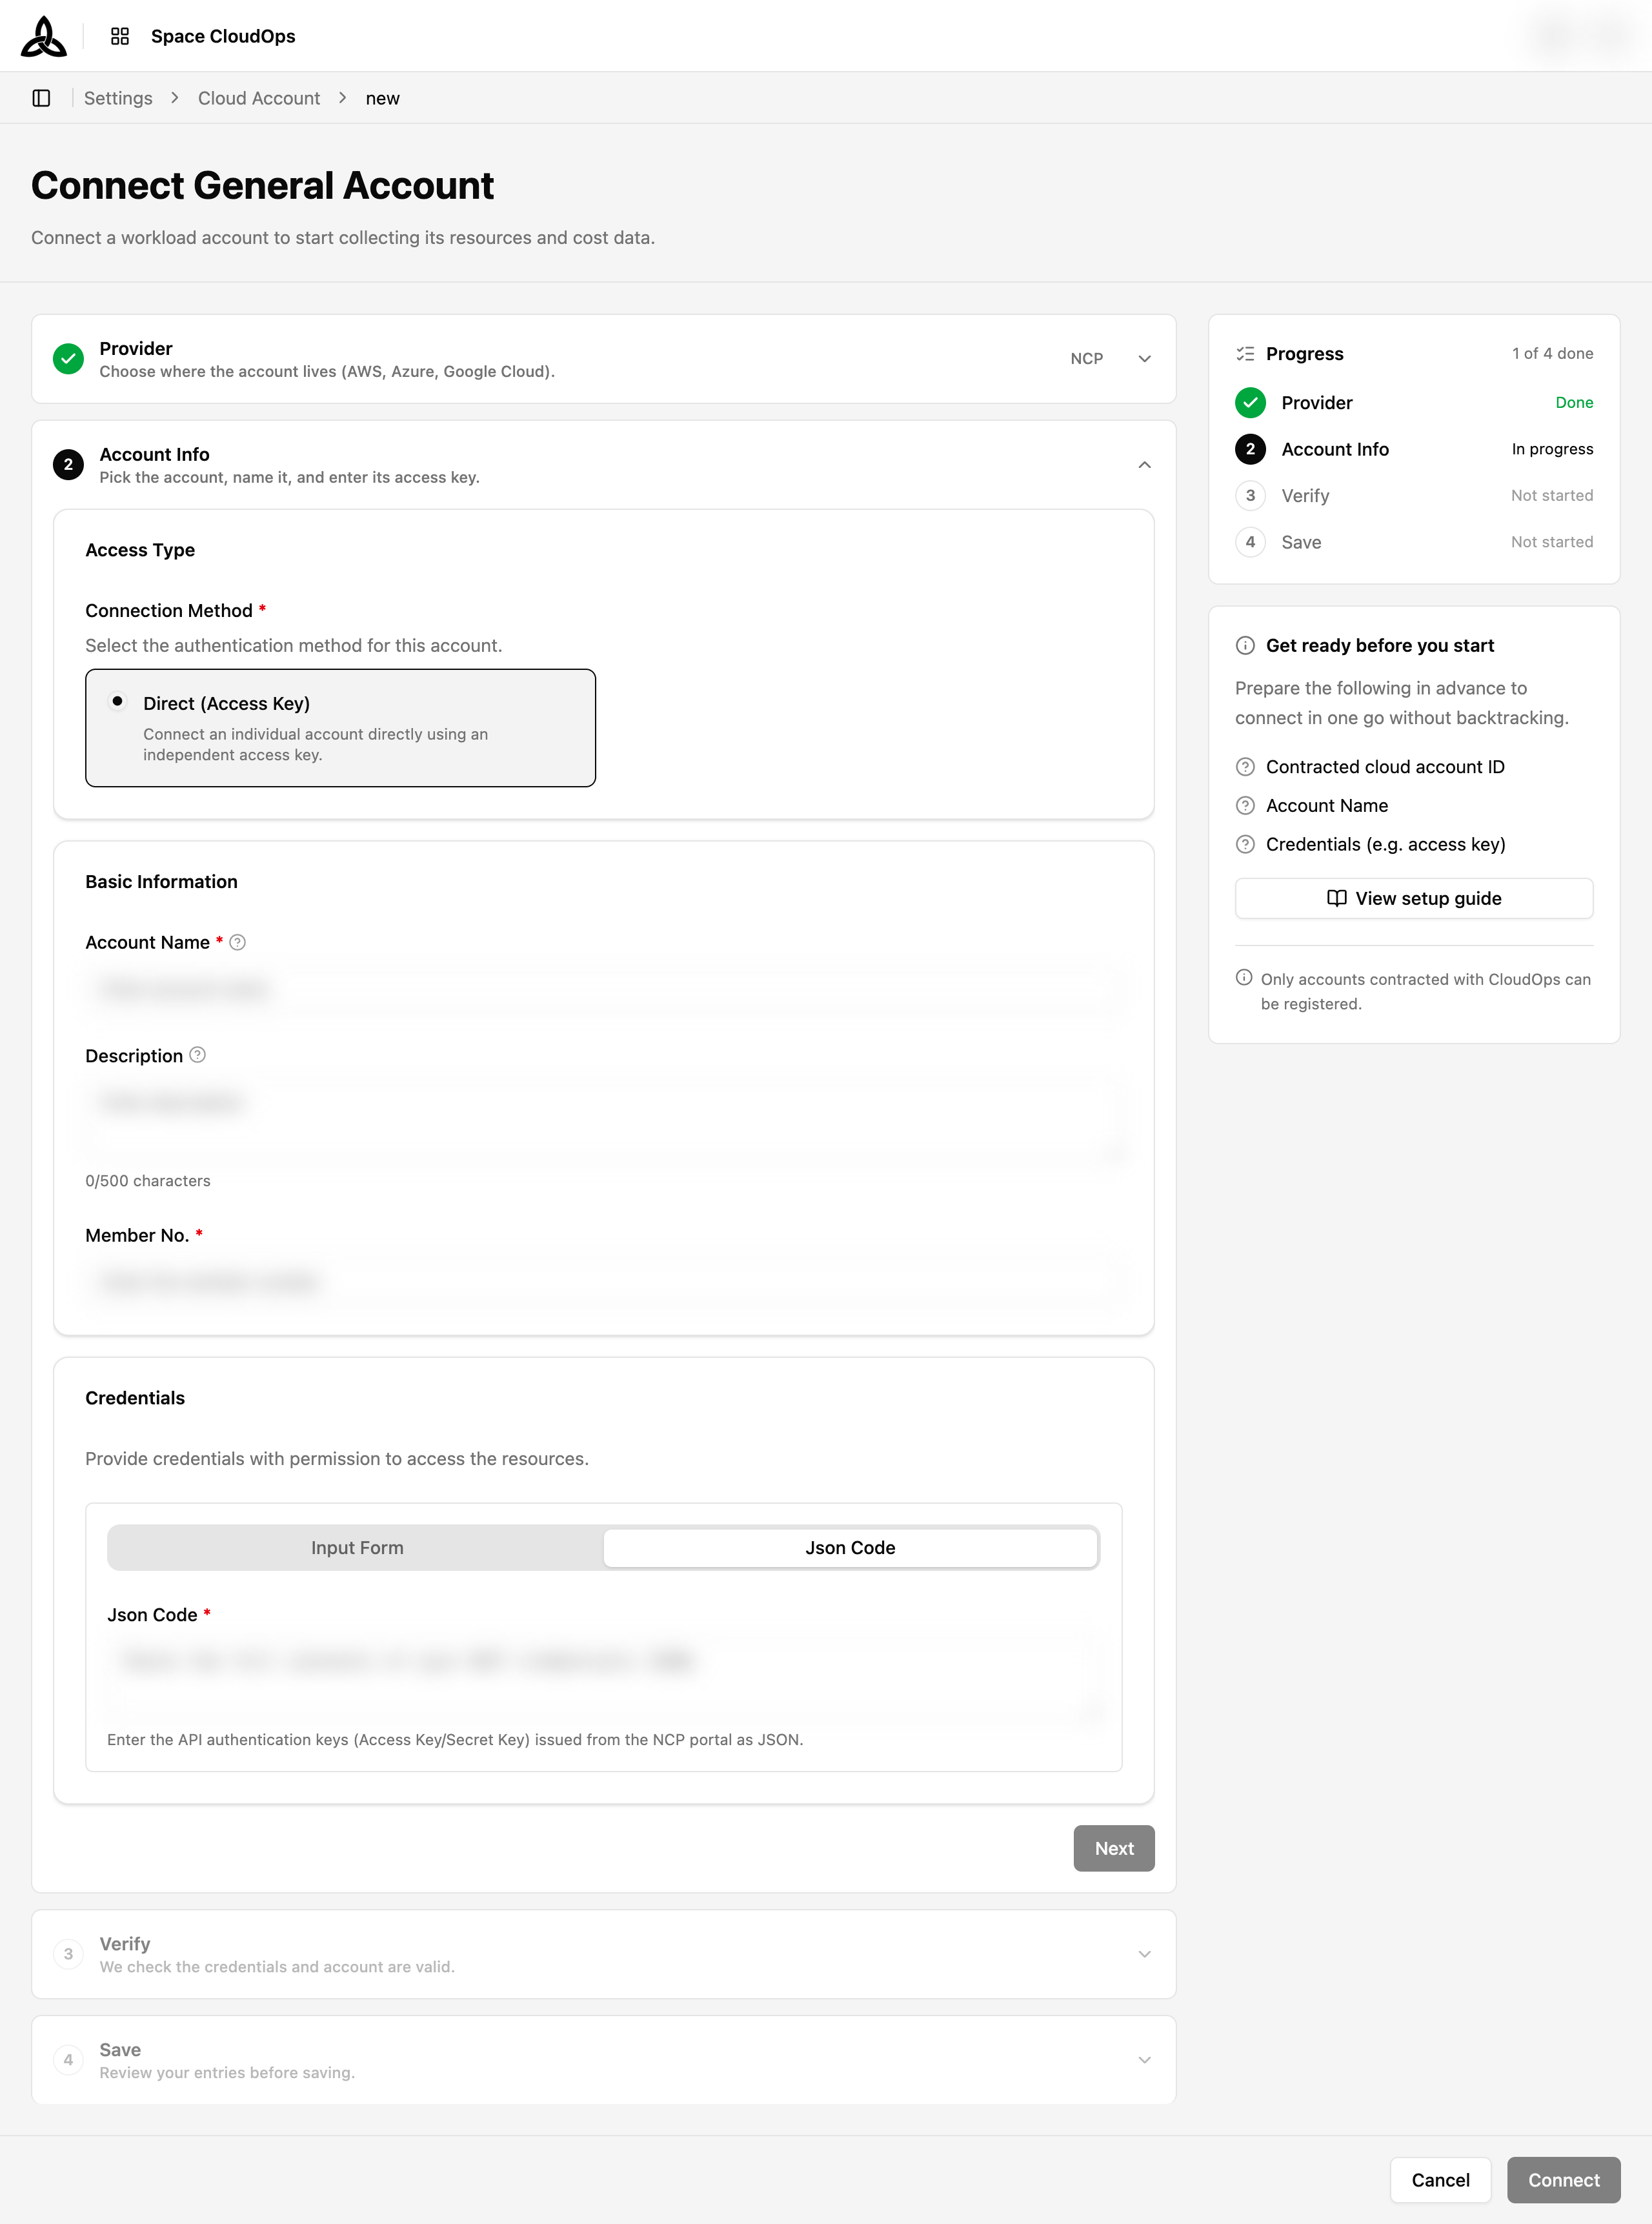
Enter the API authentication keys to access resources. You can use Input Form to enter fields individually, or Json Code to paste the credentials as JSON.
Input Form — enter the values from the NCP portal:
| Field | Required | Description |
|---|---|---|
| Access Key | Yes | API Access Key issued from the NCP portal. |
| Secret Key | Yes | API Secret Key paired with the Access Key. Masked in the UI. |
| Platform Type | Yes | NCP platform type: PUB (Public), GOV (Government), or FIN (Finance). |
Json Code — paste the API authentication keys issued from the NCP portal as JSON:
Verify
CloudOps verifies the entered credentials through Credential Format Verification and Account Validity Check. Once verification succeeds, proceed to the next step.
If verification fails, check the following:
- Credentials: Confirm that the Access Key and Secret Key are correct and active.
- Verification permission: Account validity check calls the NCP sub-account list API. The API key must have sufficient permissions.
- Platform type: Ensure the selected platform type (PUB / GOV / FIN) matches your NCP subscription.
Save
Review the Basic Info and Credentials summary, then click [Connect] to complete. Once saved, the integration is complete and resource collection begins.