Integrate AWS to CloudOps
This guide explains how to connect your AWS account to CloudOps to collect and monitor resources and costs.
Prerequisites
Before integrating, complete the AWS account setup that matches your collection method.
Understanding account types
CloudOps registers two account types.
- Root Account (Bridge): The primary entity that provides authentication keys (Access Keys). It is the parent account from which multiple general accounts delegate permissions; register it once and reuse it.
- General Account: An individual workload account. It is divided into two connection methods.
- Delegated (Assumed Role): Connects by delegating permissions from a parent root account (Assume Role method).
- Direct (Access Key): Connects directly with independent access keys (Access Key method).
Register a cloud account
Open the Cloud Account menu
In the CloudOps console, go to [Settings > Cloud Account] and click [Create new].
Select a provider
Select AWS as the cloud provider to connect. (Wizard step 1)
Select account type and connection method
In the account info step (step 2), specify the Access Type.
① Register a Root Account (Bridge) — skip if already registered.
- Account Type: Root Account
- Credentials: enter AWS Access Key ID / Secret Access Key
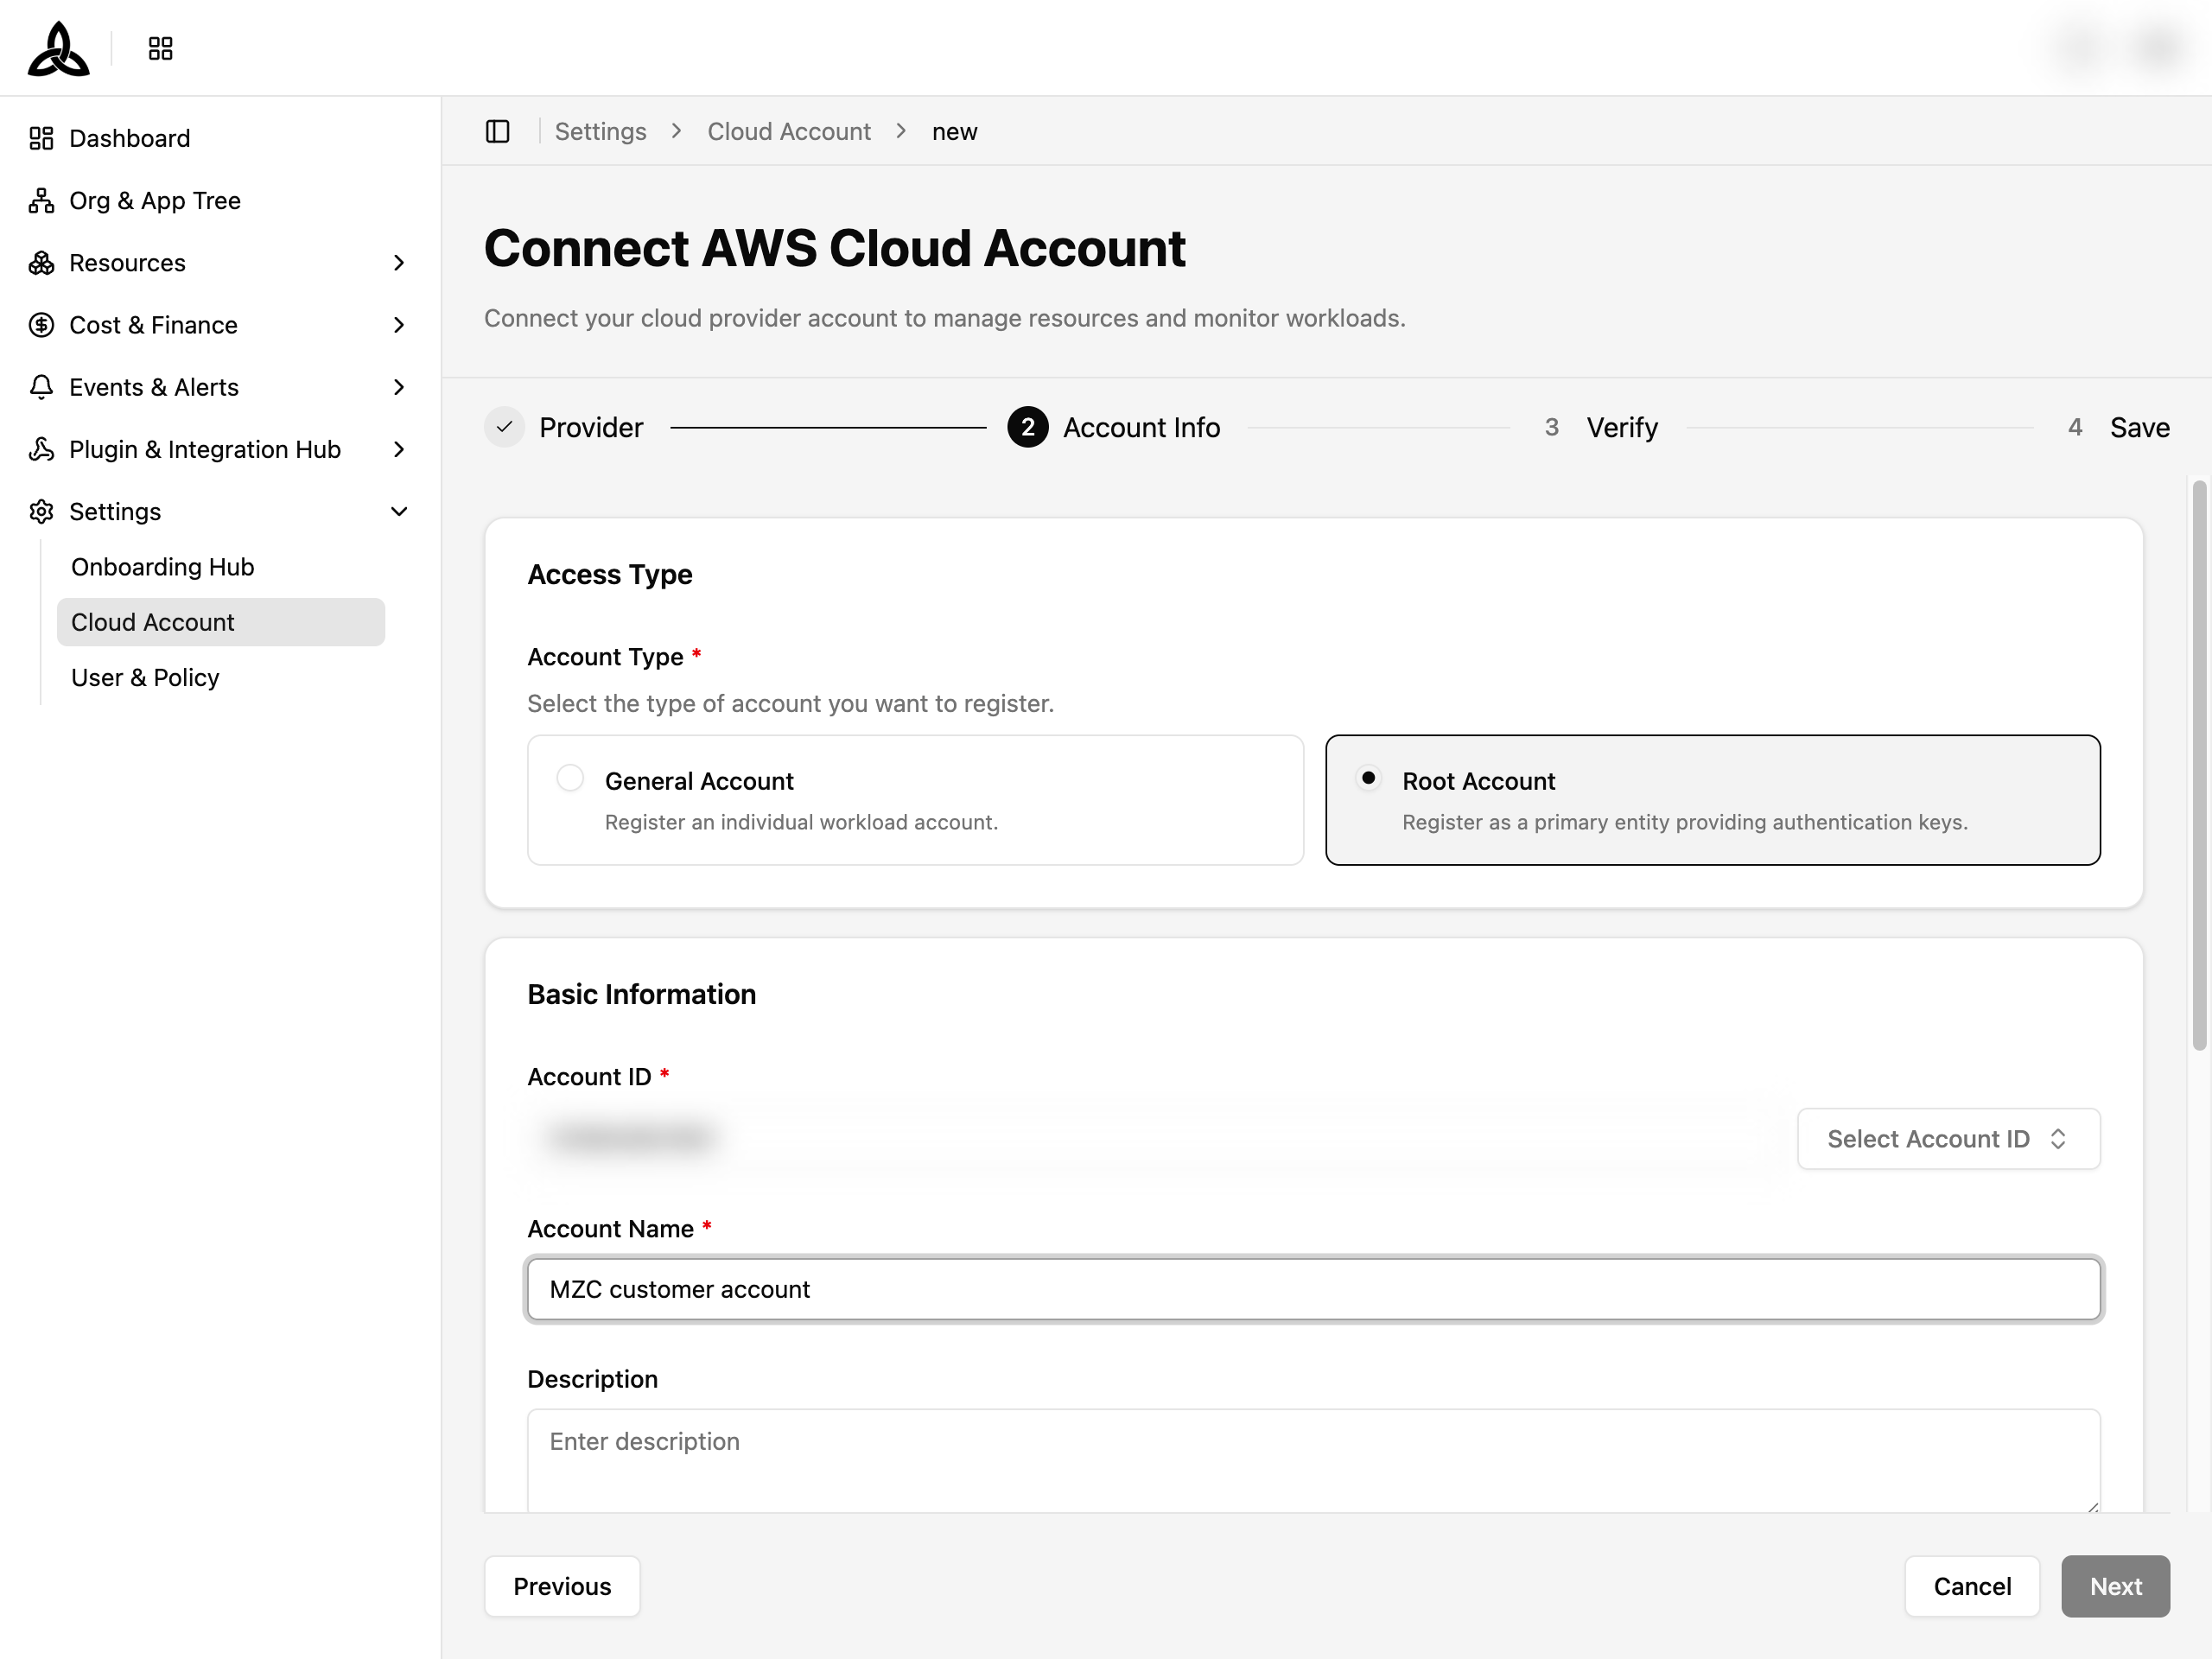
② Register a General Account
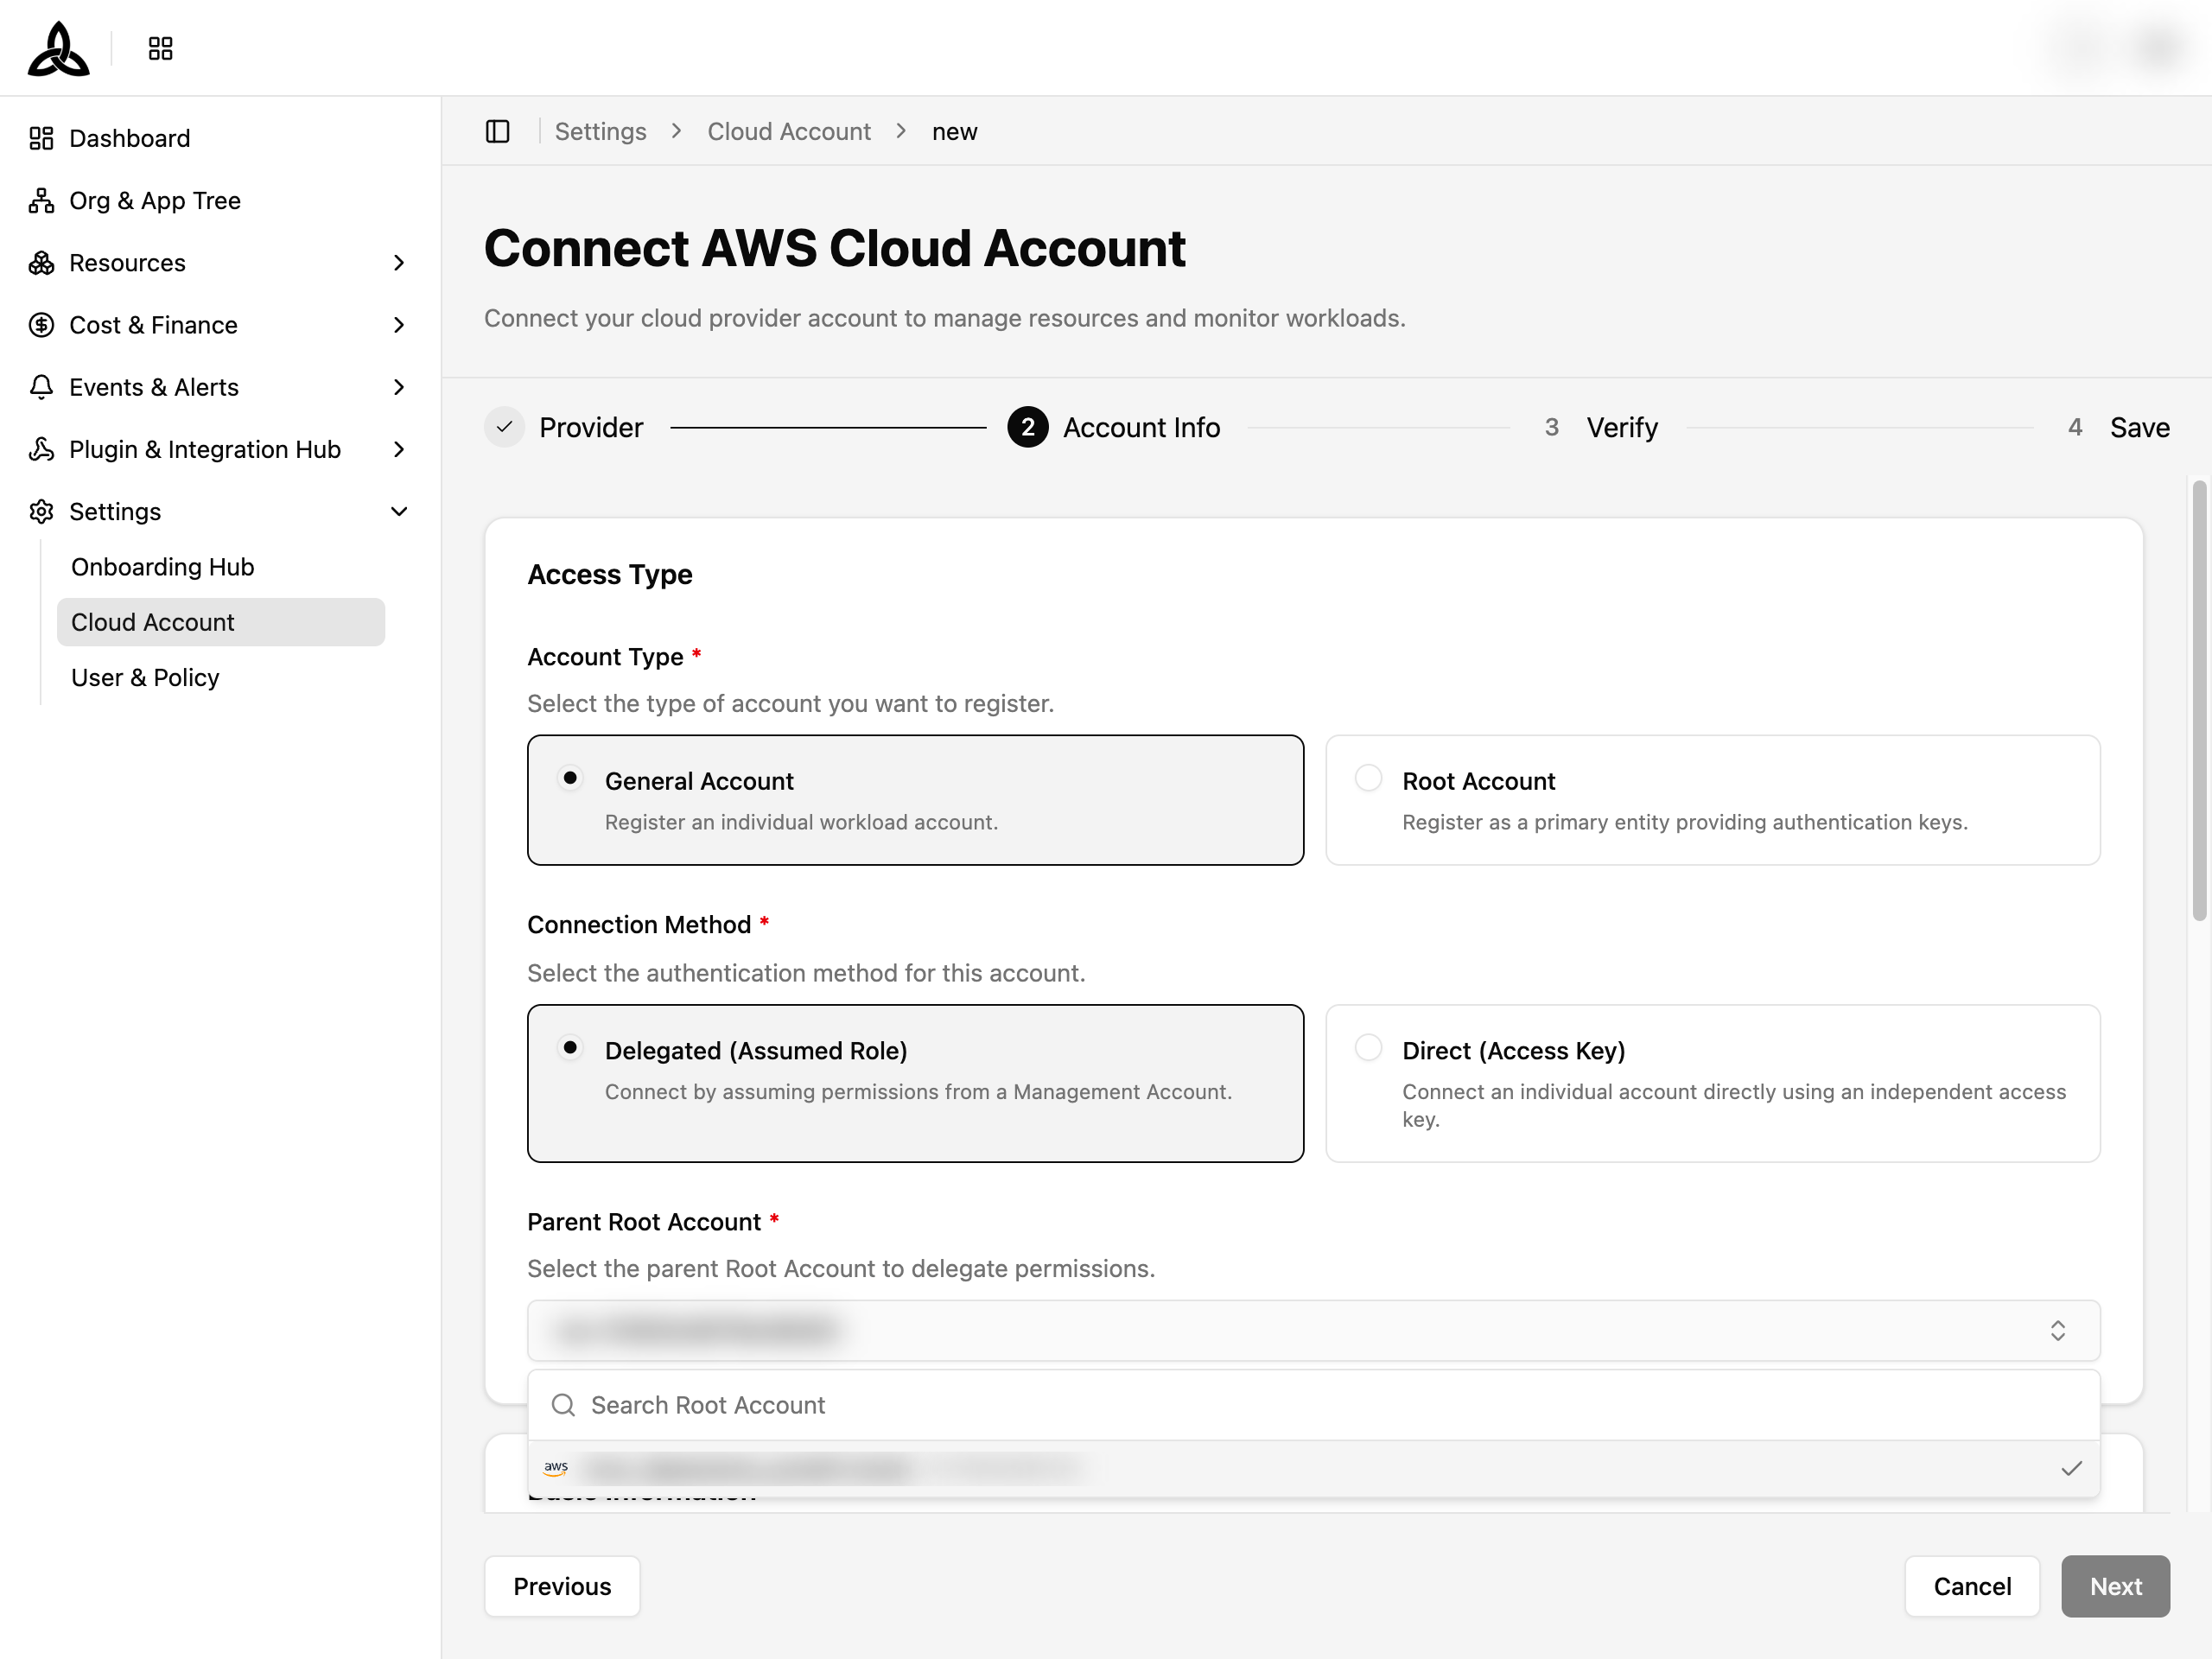
- Account Type: General Account
- Select a Connection Method:
- Delegated (Assumed Role) → select the Parent Root Account (Bridge).
- Direct (Access Key) → enter AWS Access Key ID / Secret Access Key.
When you select Delegated (Assumed Role), enter the Role ARN and External ID in the credentials.
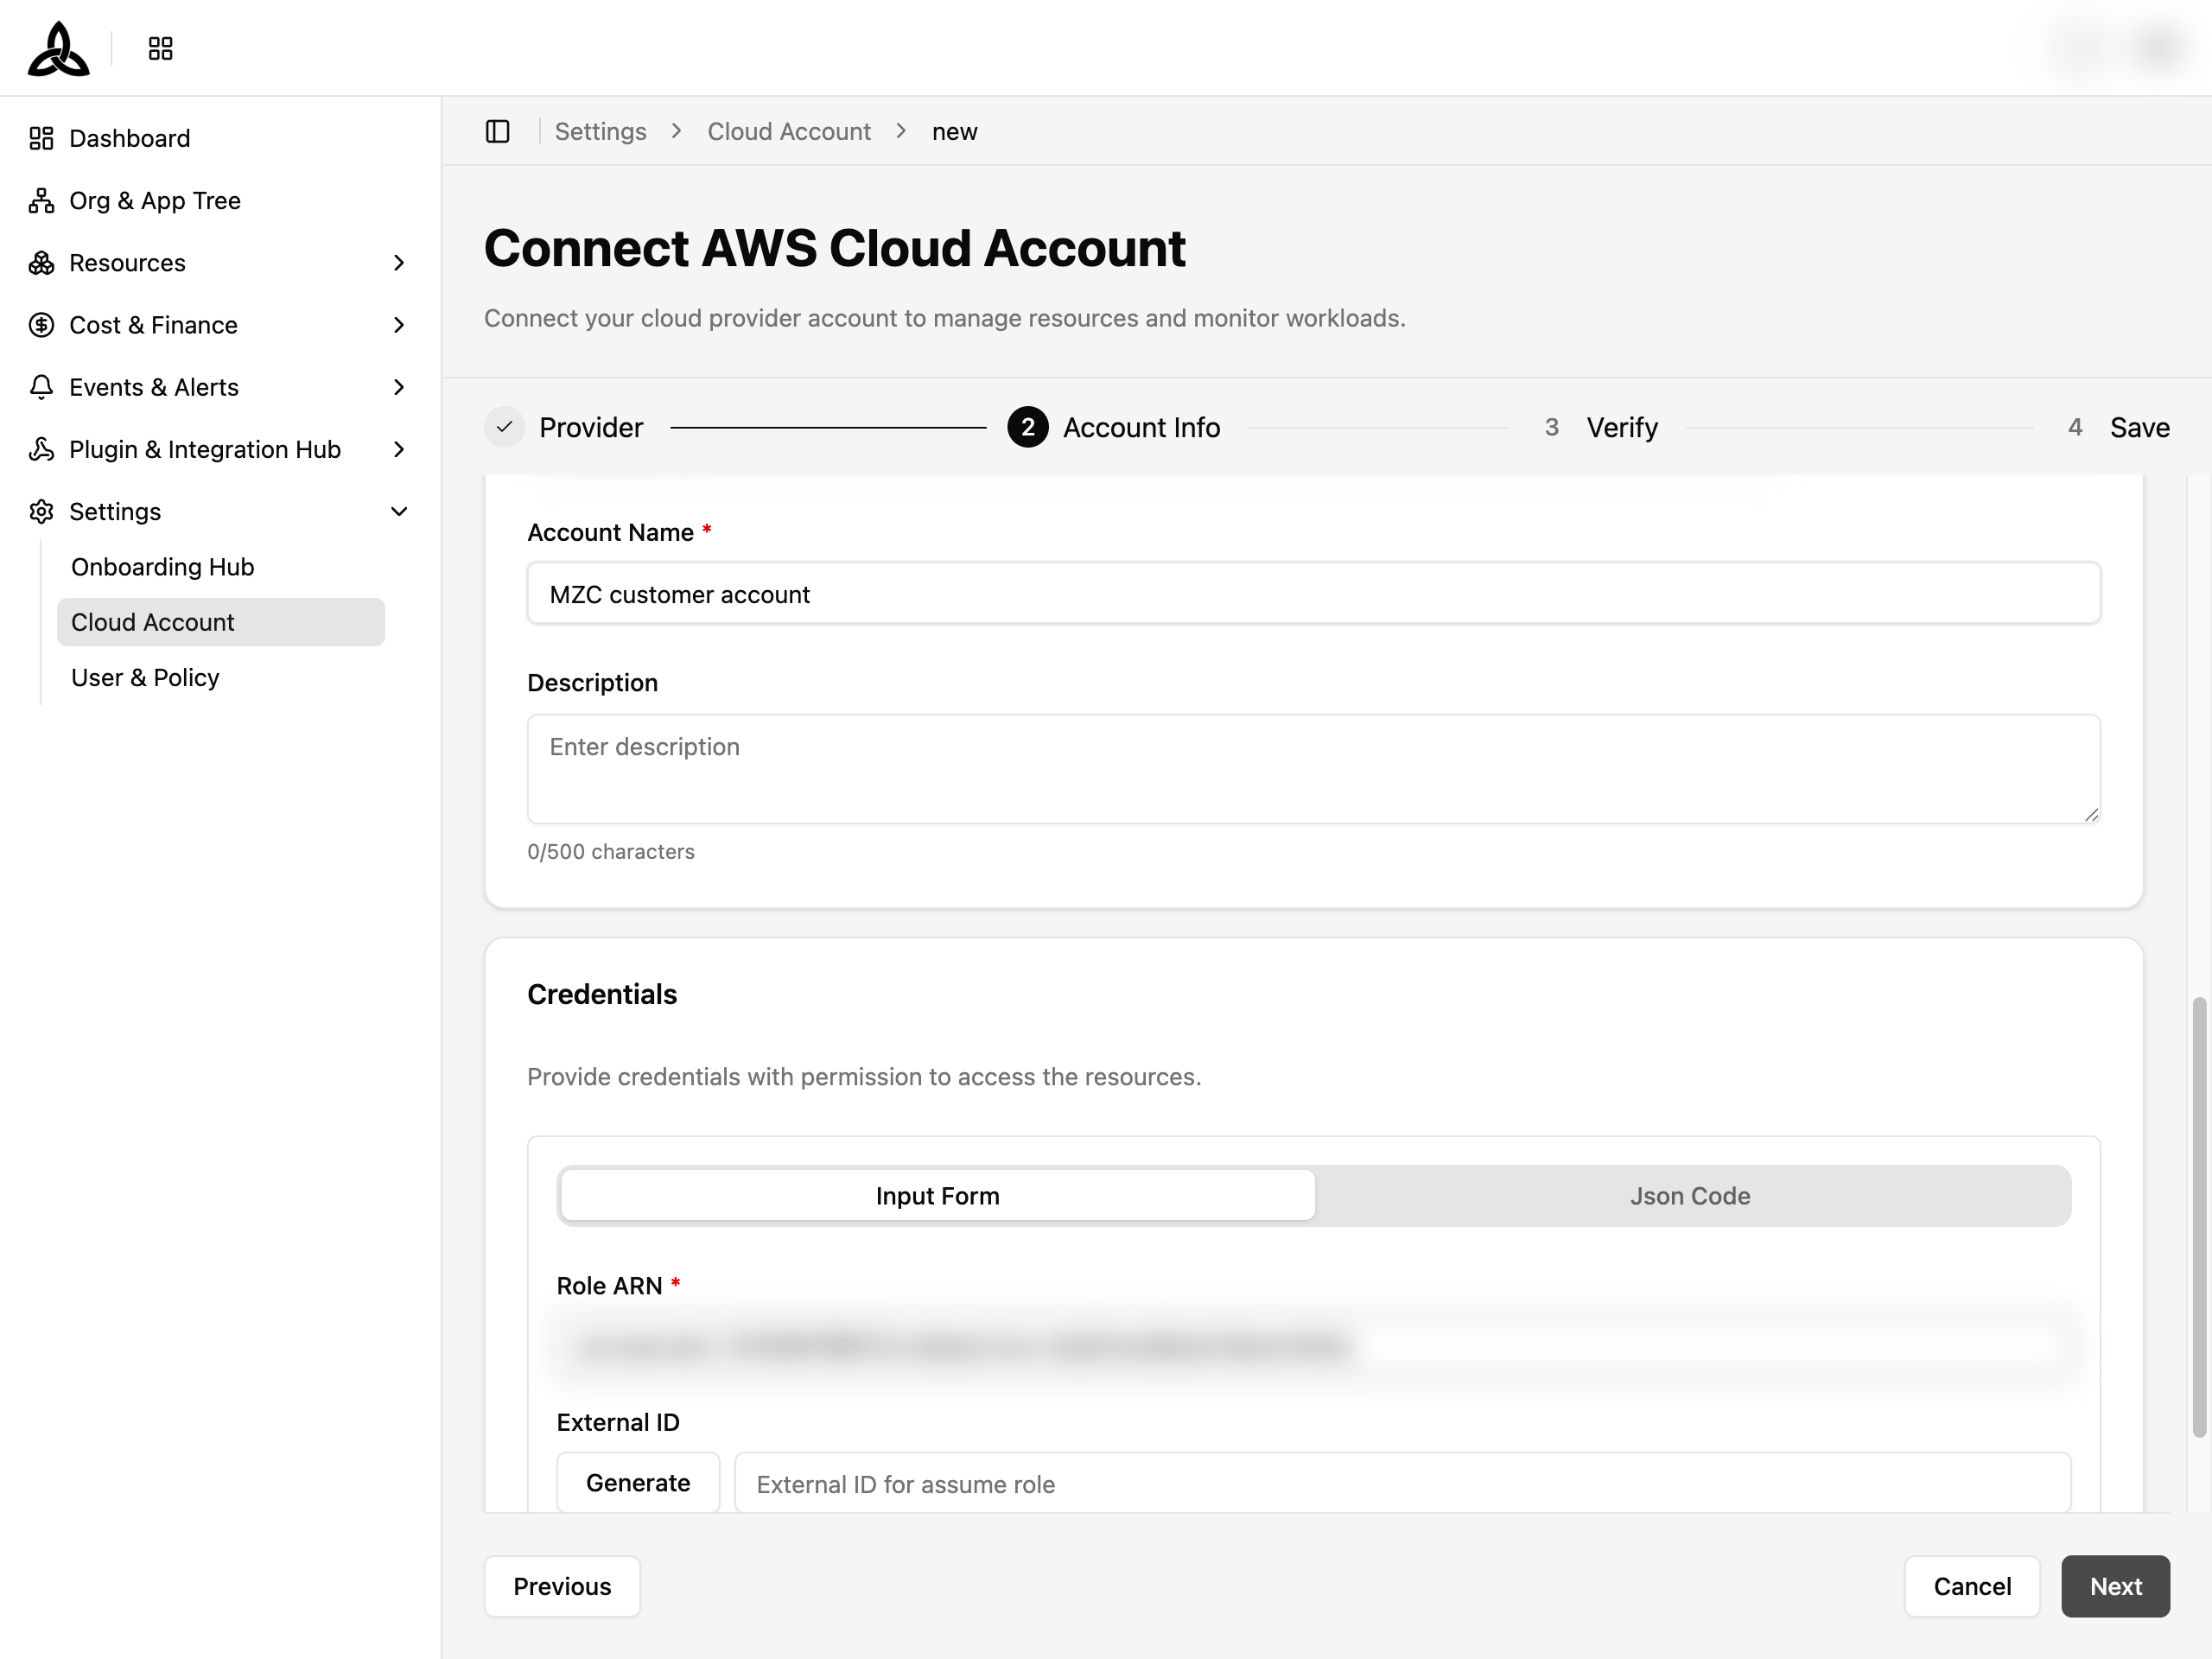
Enter basic information
- Account ID: AWS account ID (12 digits)
- Account Name: account name
- Description (optional)
Verify
CloudOps verifies the entered credentials through Credential Format Verification and Account Validity Check (step 3). Once verification succeeds, proceed to the next step.
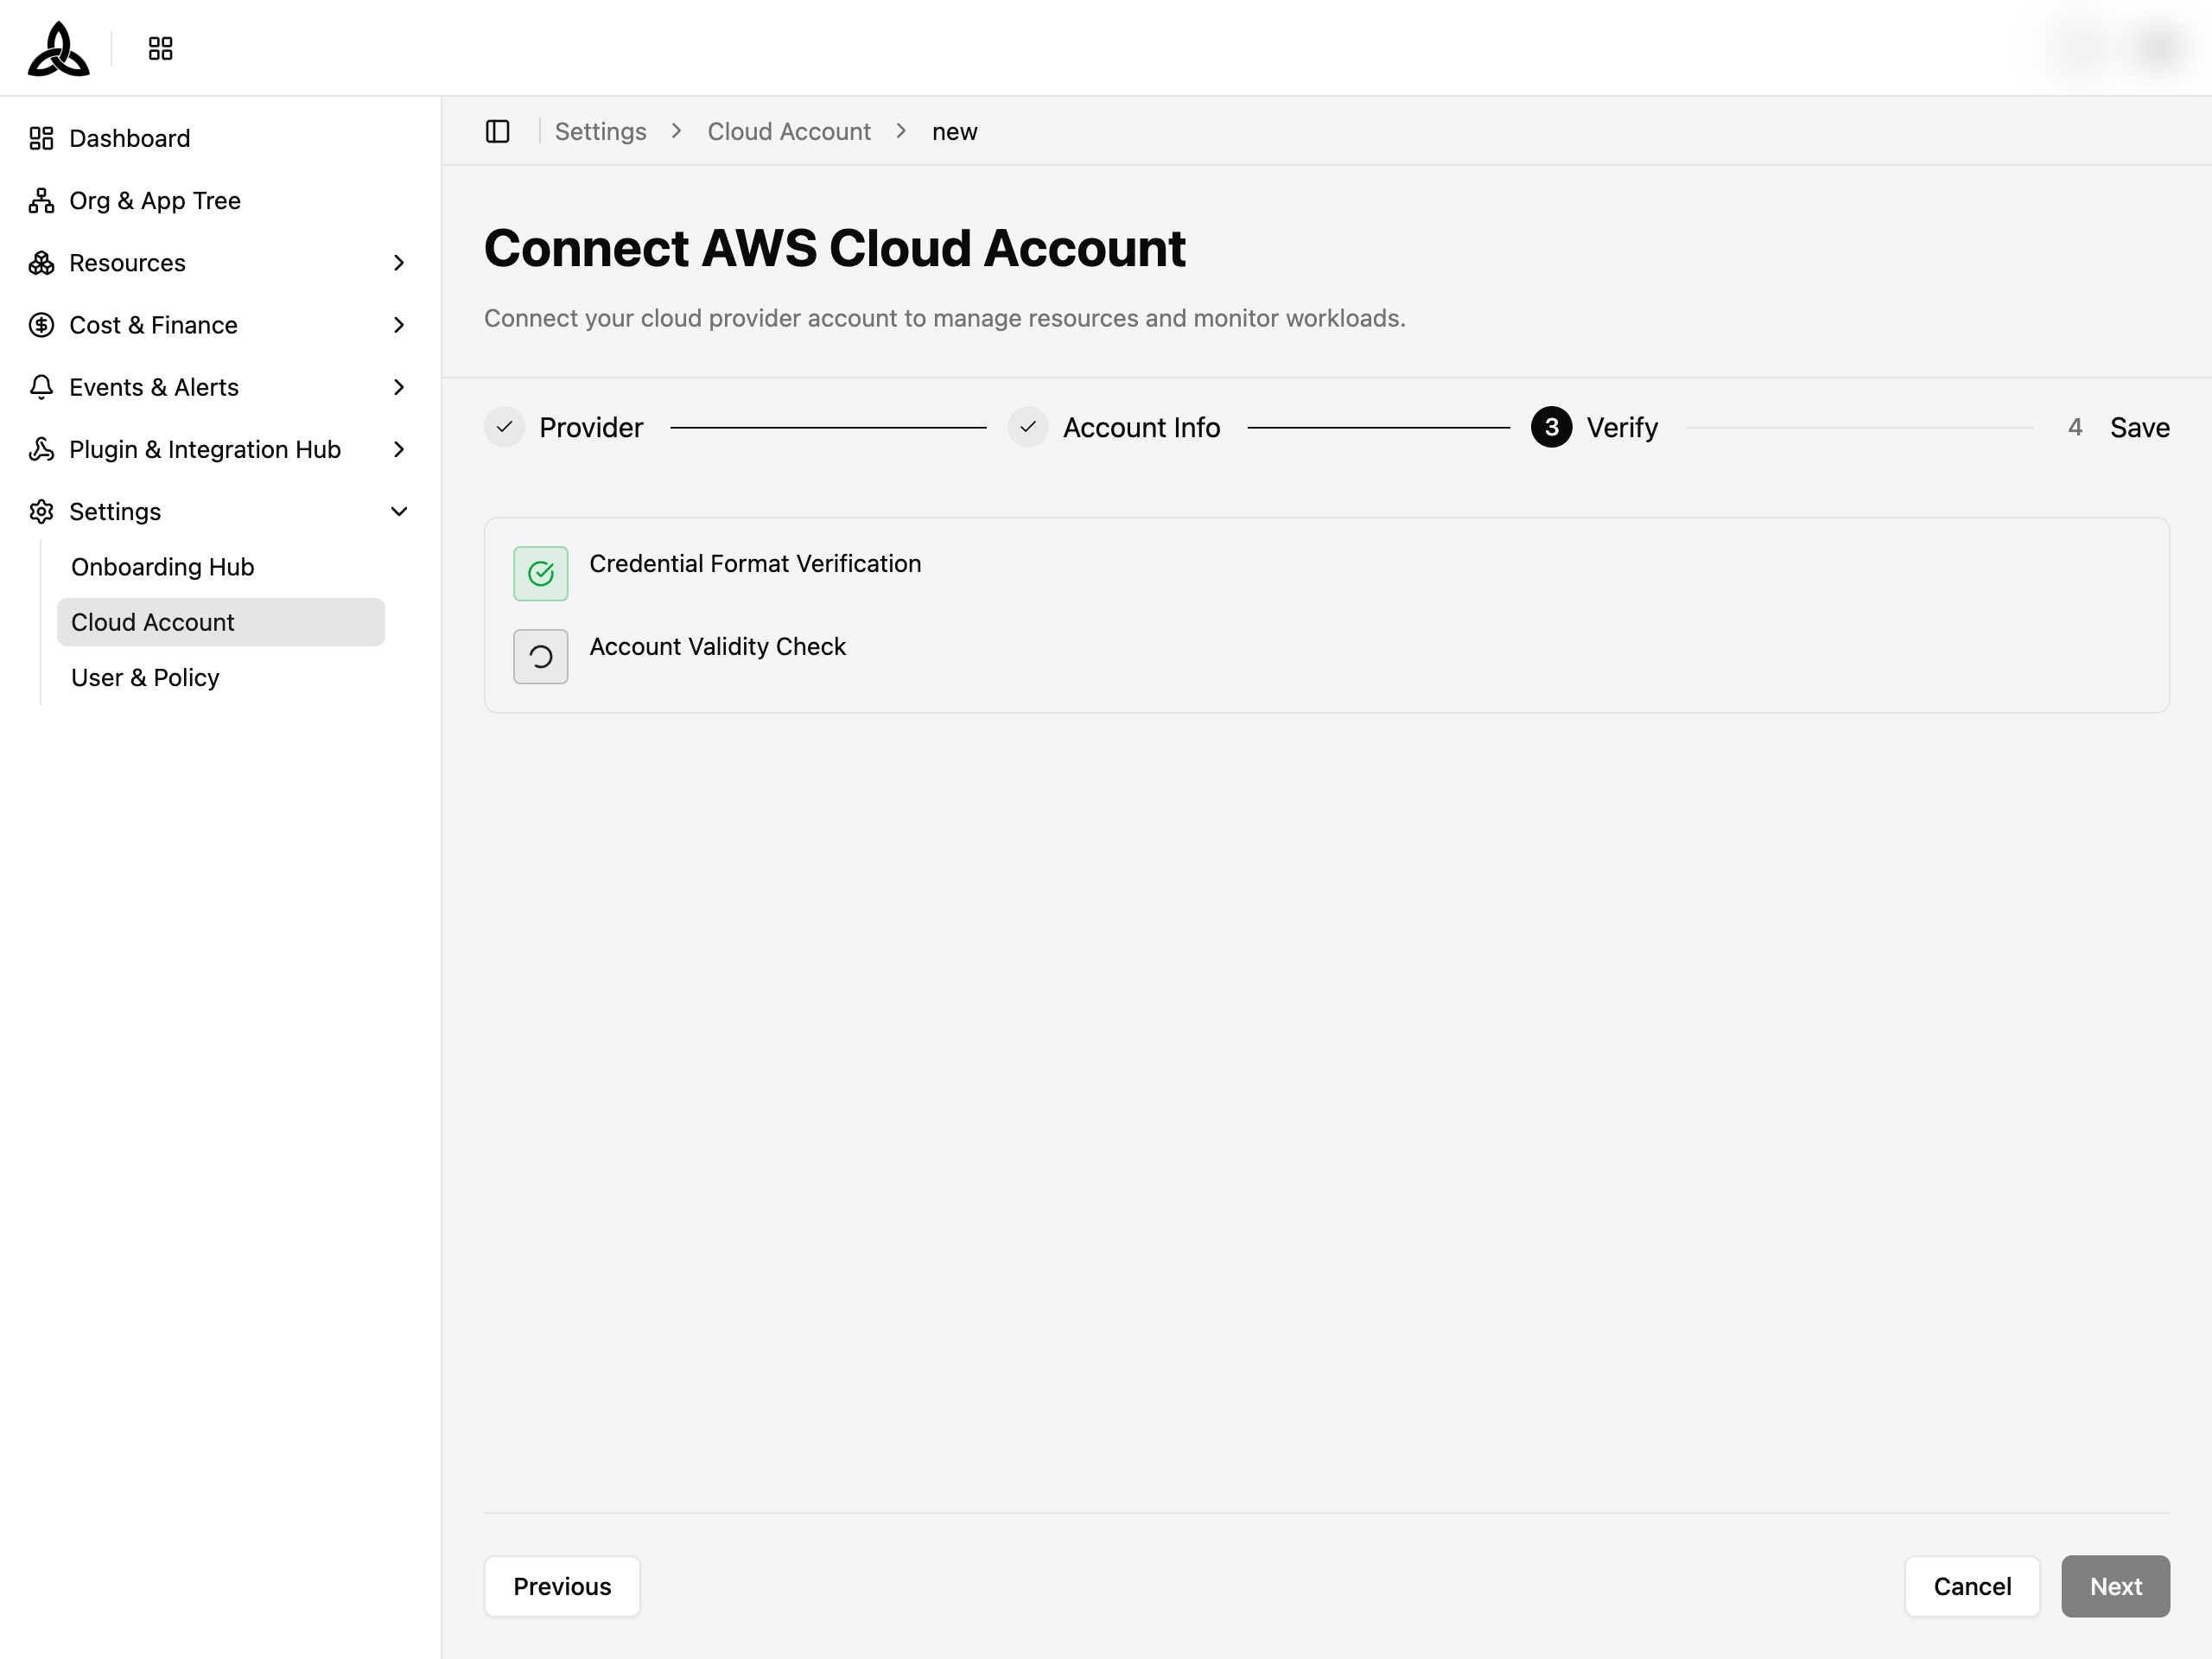
If verification fails, check the following:
- Credentials: Confirm that the AWS Access Key ID and Secret Access Key (or Role ARN) are correct.
- Verification permission: Account validity check calls the
sts:GetCallerIdentityAPI. The IAM policy must include thests:GetCallerIdentitypermission. - Resource collection permissions: Verify that the read-only permissions defined in the Access Key Method IAM Policy JSON are granted to the service account.
Save
When you save the settings (step 4), the integration completes and resource/cost collection begins.