Integrate AWS to CloudOps
This guide explains how to connect your AWS account to CloudOps to collect and monitor resources and costs.
Prerequisites
Before integrating, complete the AWS account setup that matches your collection method.
Understanding account types
CloudOps registers two account types.
- Root Account: The top payer / management account that owns billing and delegates access to other accounts. It is the primary entity providing authentication keys — register it once and reuse it.
- General Account: An individual workload account, connected in one of two ways.
- Delegated (Assumed Role): Connects by assuming permissions from a parent Root Account (Assume Role method).
- Direct (Access Key): Connects directly with its own independent access key (Access Key method).
Which one should you use
| Situation | How to register |
|---|---|
| You have a payer / management account that owns billing and delegates access | Register the Root Account first, then connect each workload account as General + Delegated |
| You have a single account, or your accounts have no delegation relationship | General + Direct |
The deciding factor is your organization’s structure, not how many accounts you have. Without a parent account to delegate from you cannot create a Root at all, however many accounts you own; conversely, if the delegation structure exists, a Root is worth having even for two accounts — Direct means issuing, storing, and rotating a separate access key for every one of them.
With a Root Account in place you can connect its delegated accounts in one pass through Bulk Register instead of registering them one at a time.
A Root Account is not collected
A Root Account is the delegation basis and credential provider — it is not a collection target. That is why a Root row reads differently in the account list:
| Item | Root Account | General Account |
|---|---|---|
| Collection Status | Empty | Success · Running · Failure … |
| Last Collected | Empty | When resources were last collected |
| Collection Issues KPI | Excluded | Counted |
| Detail screen | Number of delegated General accounts | Collection status |
Auto badge in the account list — and that General account is what collects. In other words collection always happens at the General account level, with the Root standing behind it.Register a cloud account
In the CloudOps console, go to [Settings > Cloud Account] and click the [Connect Account] dropdown. Select either Root Account or General Account to open the registration page.
The registration page uses a 4-step accordion wizard: Provider → Account Info → Verify → Save. A progress panel on the right tracks your completion status.
Select a provider
Select AWS as the cloud provider to connect.
Enter account info
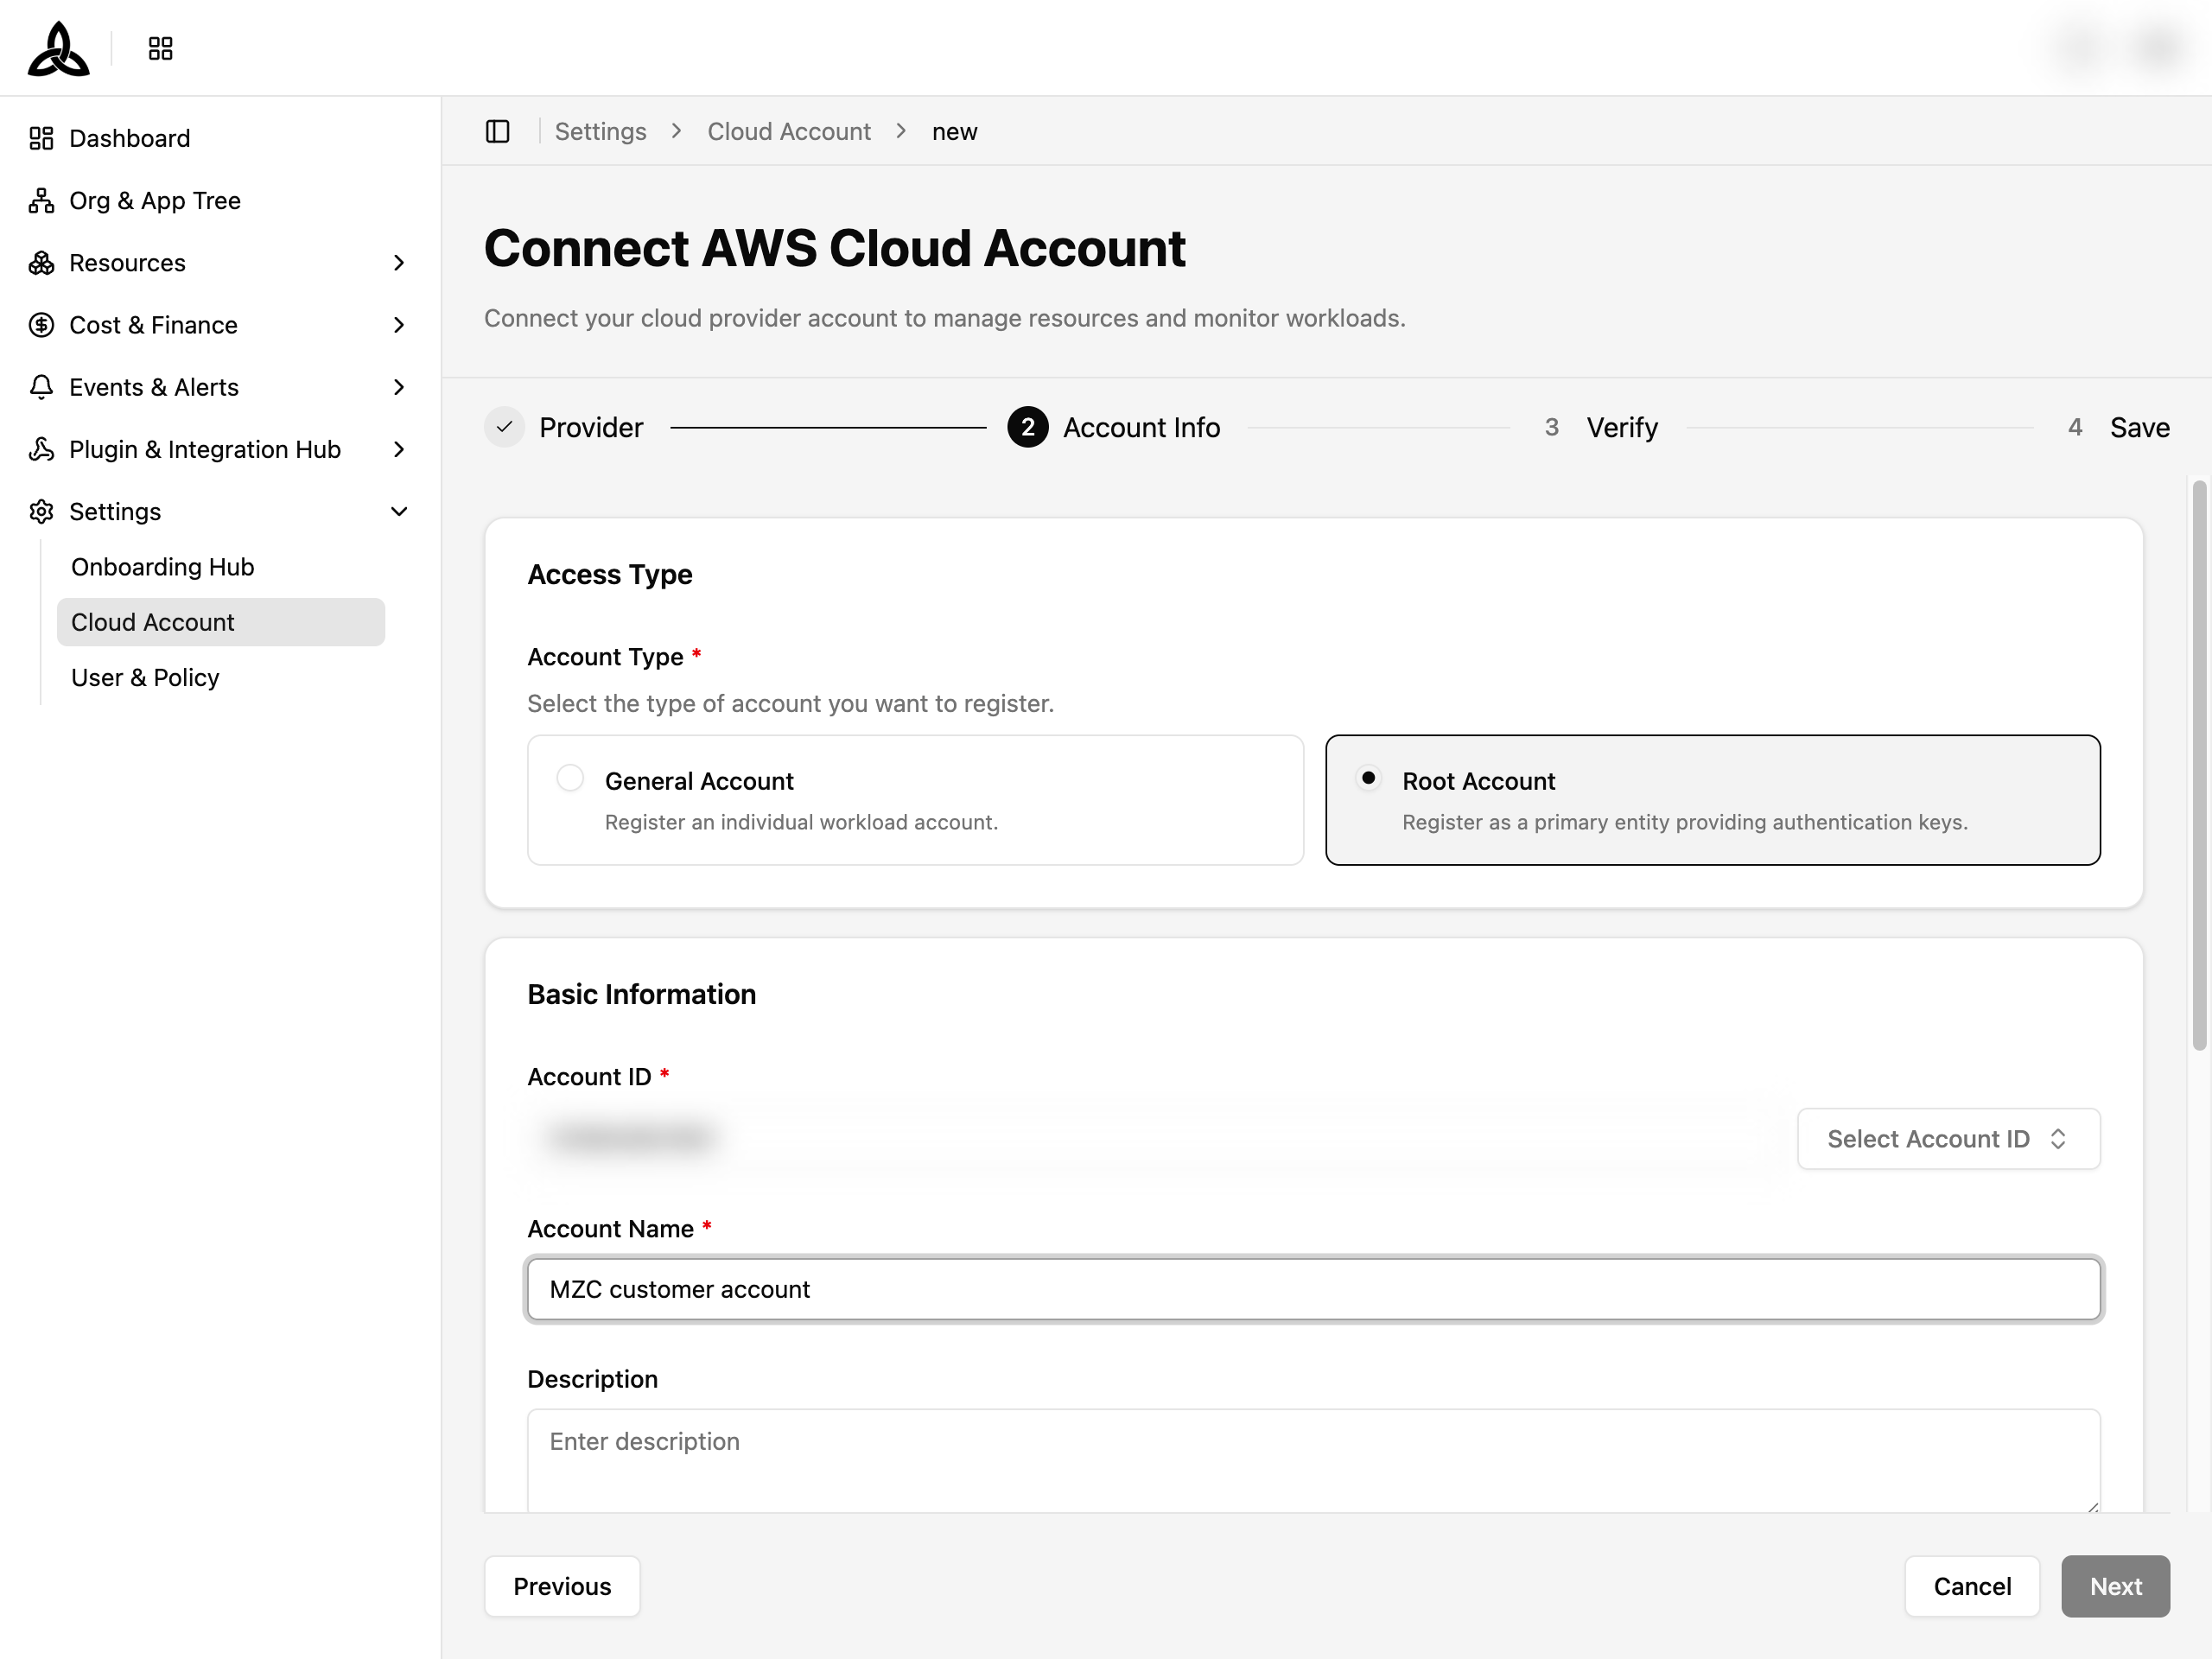
In the Account Info step, the form fields differ depending on the account type you chose.
① Root Account — the page title shows Connect Root Account.
- Account ID: select from your contracted accounts.
- Account Name: enter a display name.
- Connection Method: Direct (Access Key) is pre-selected.
- Credentials: enter AWS Access Key ID / Secret Access Key.
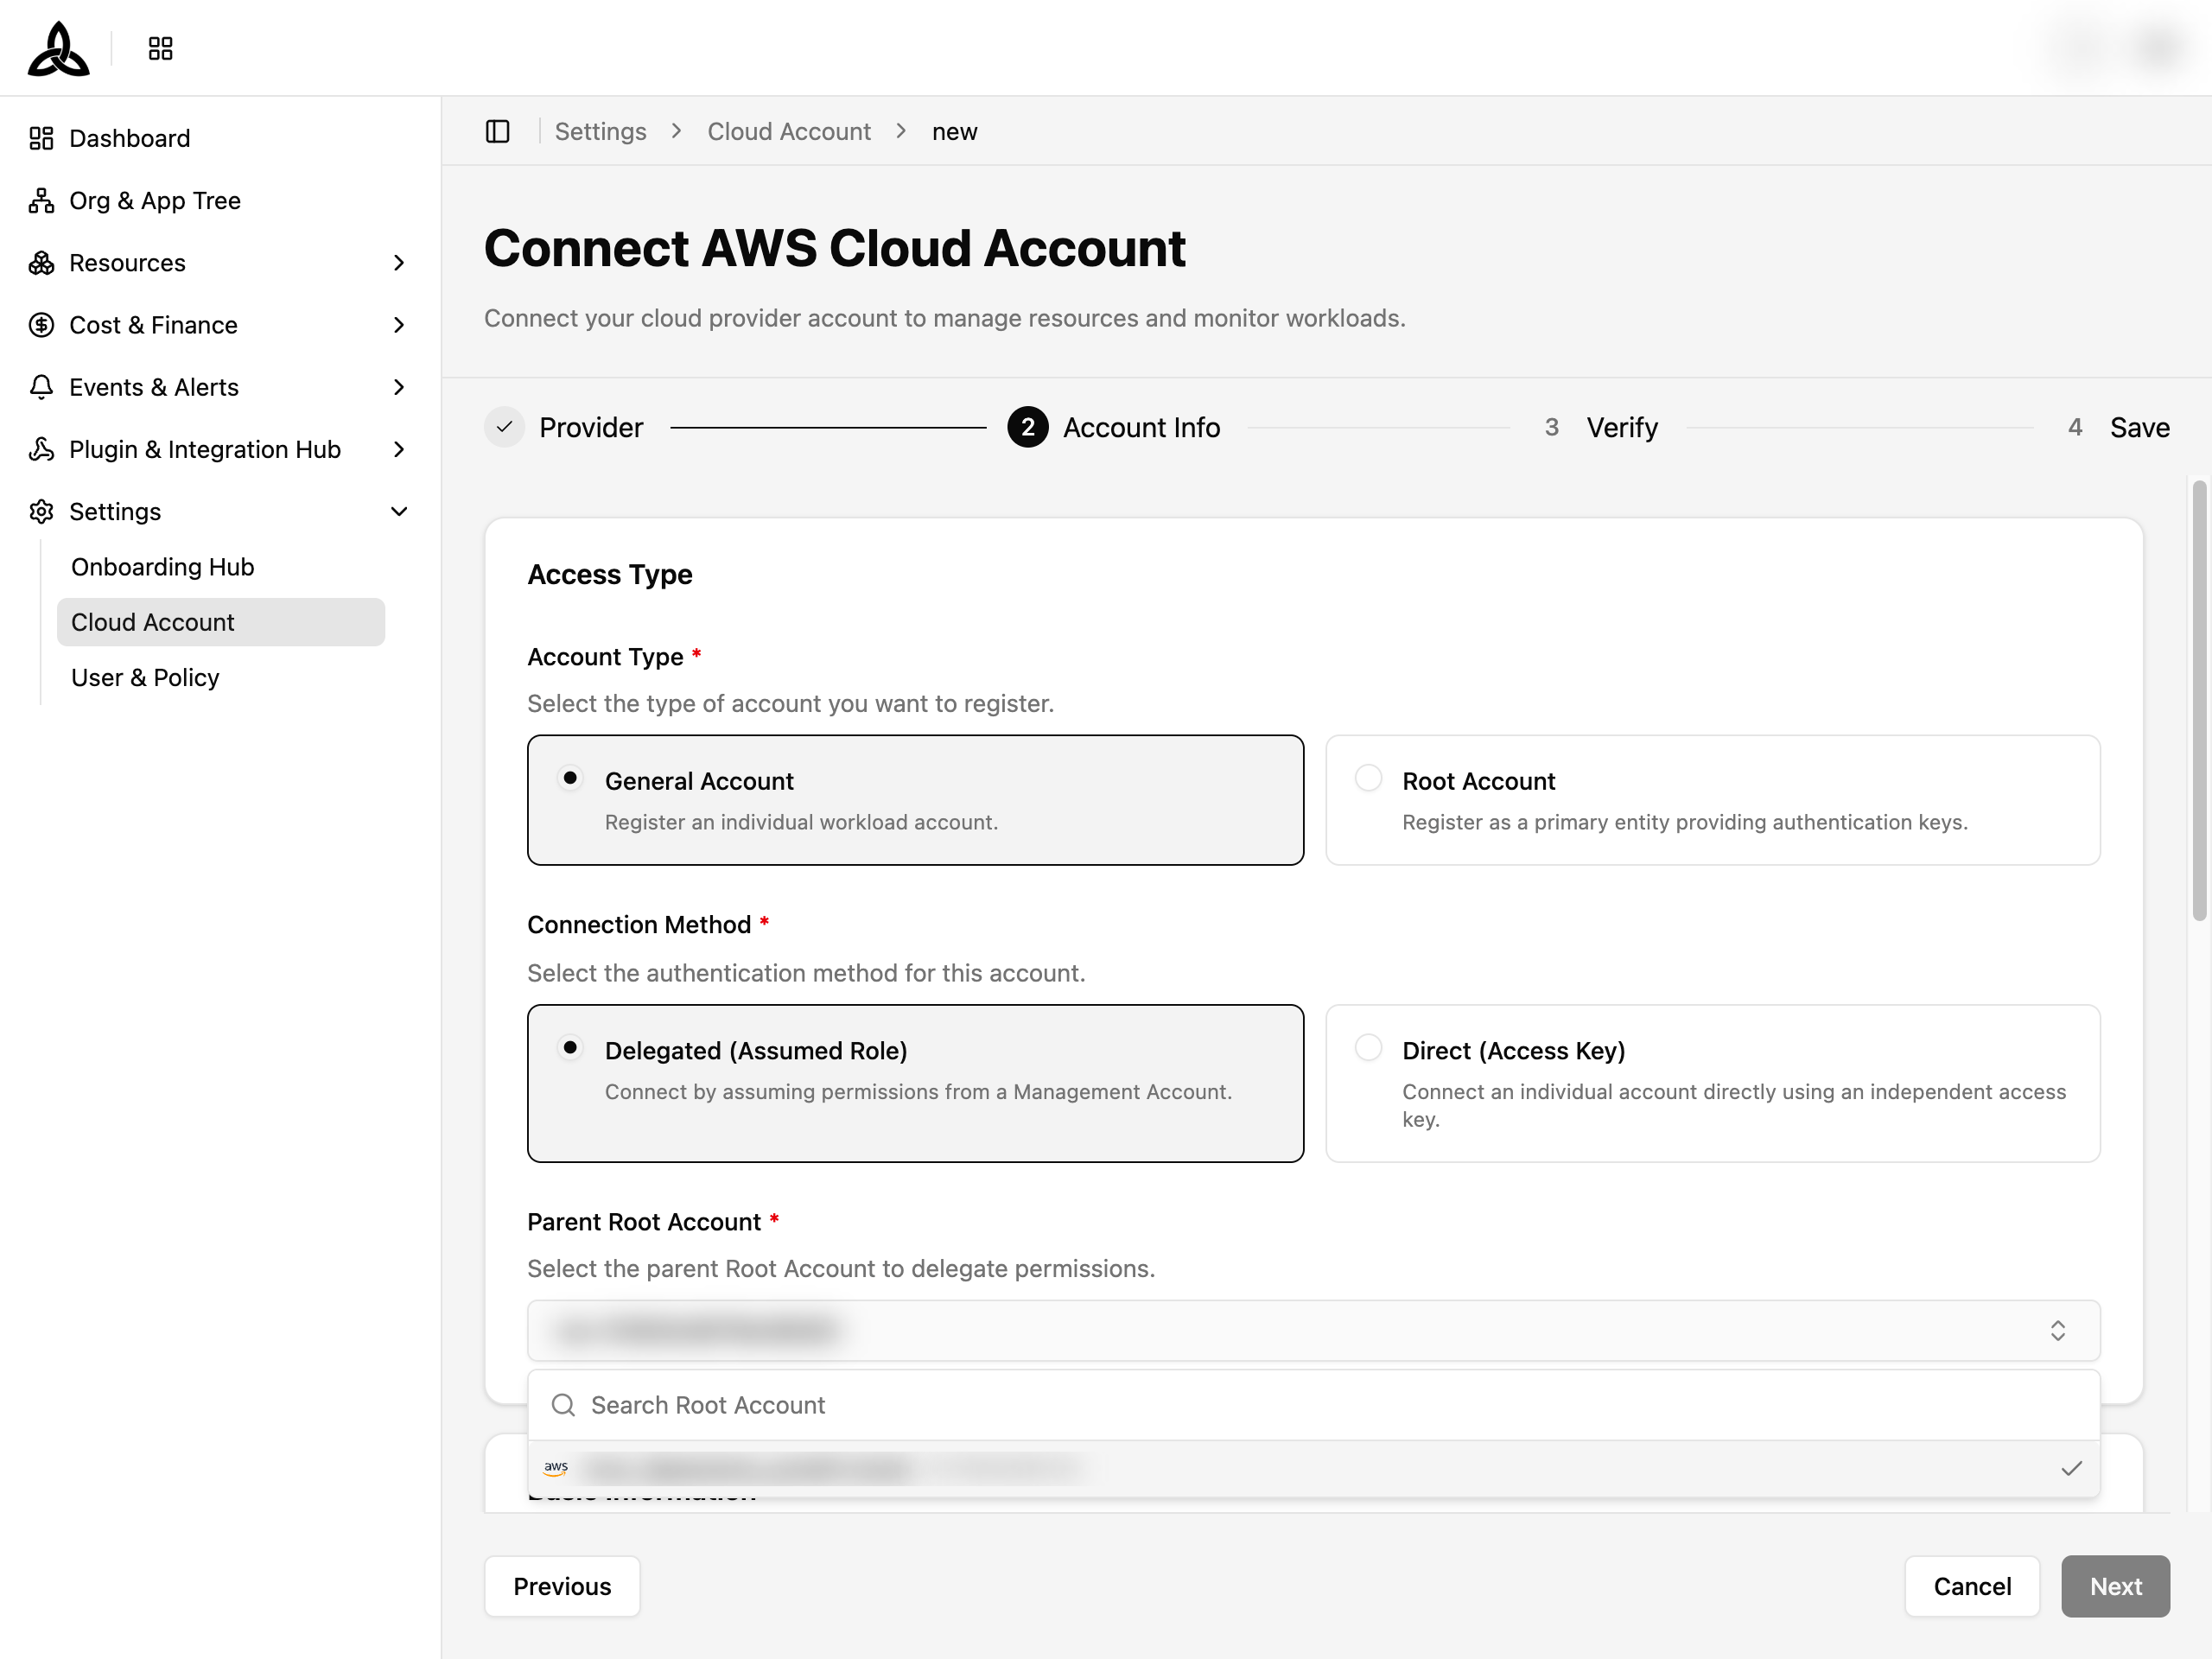
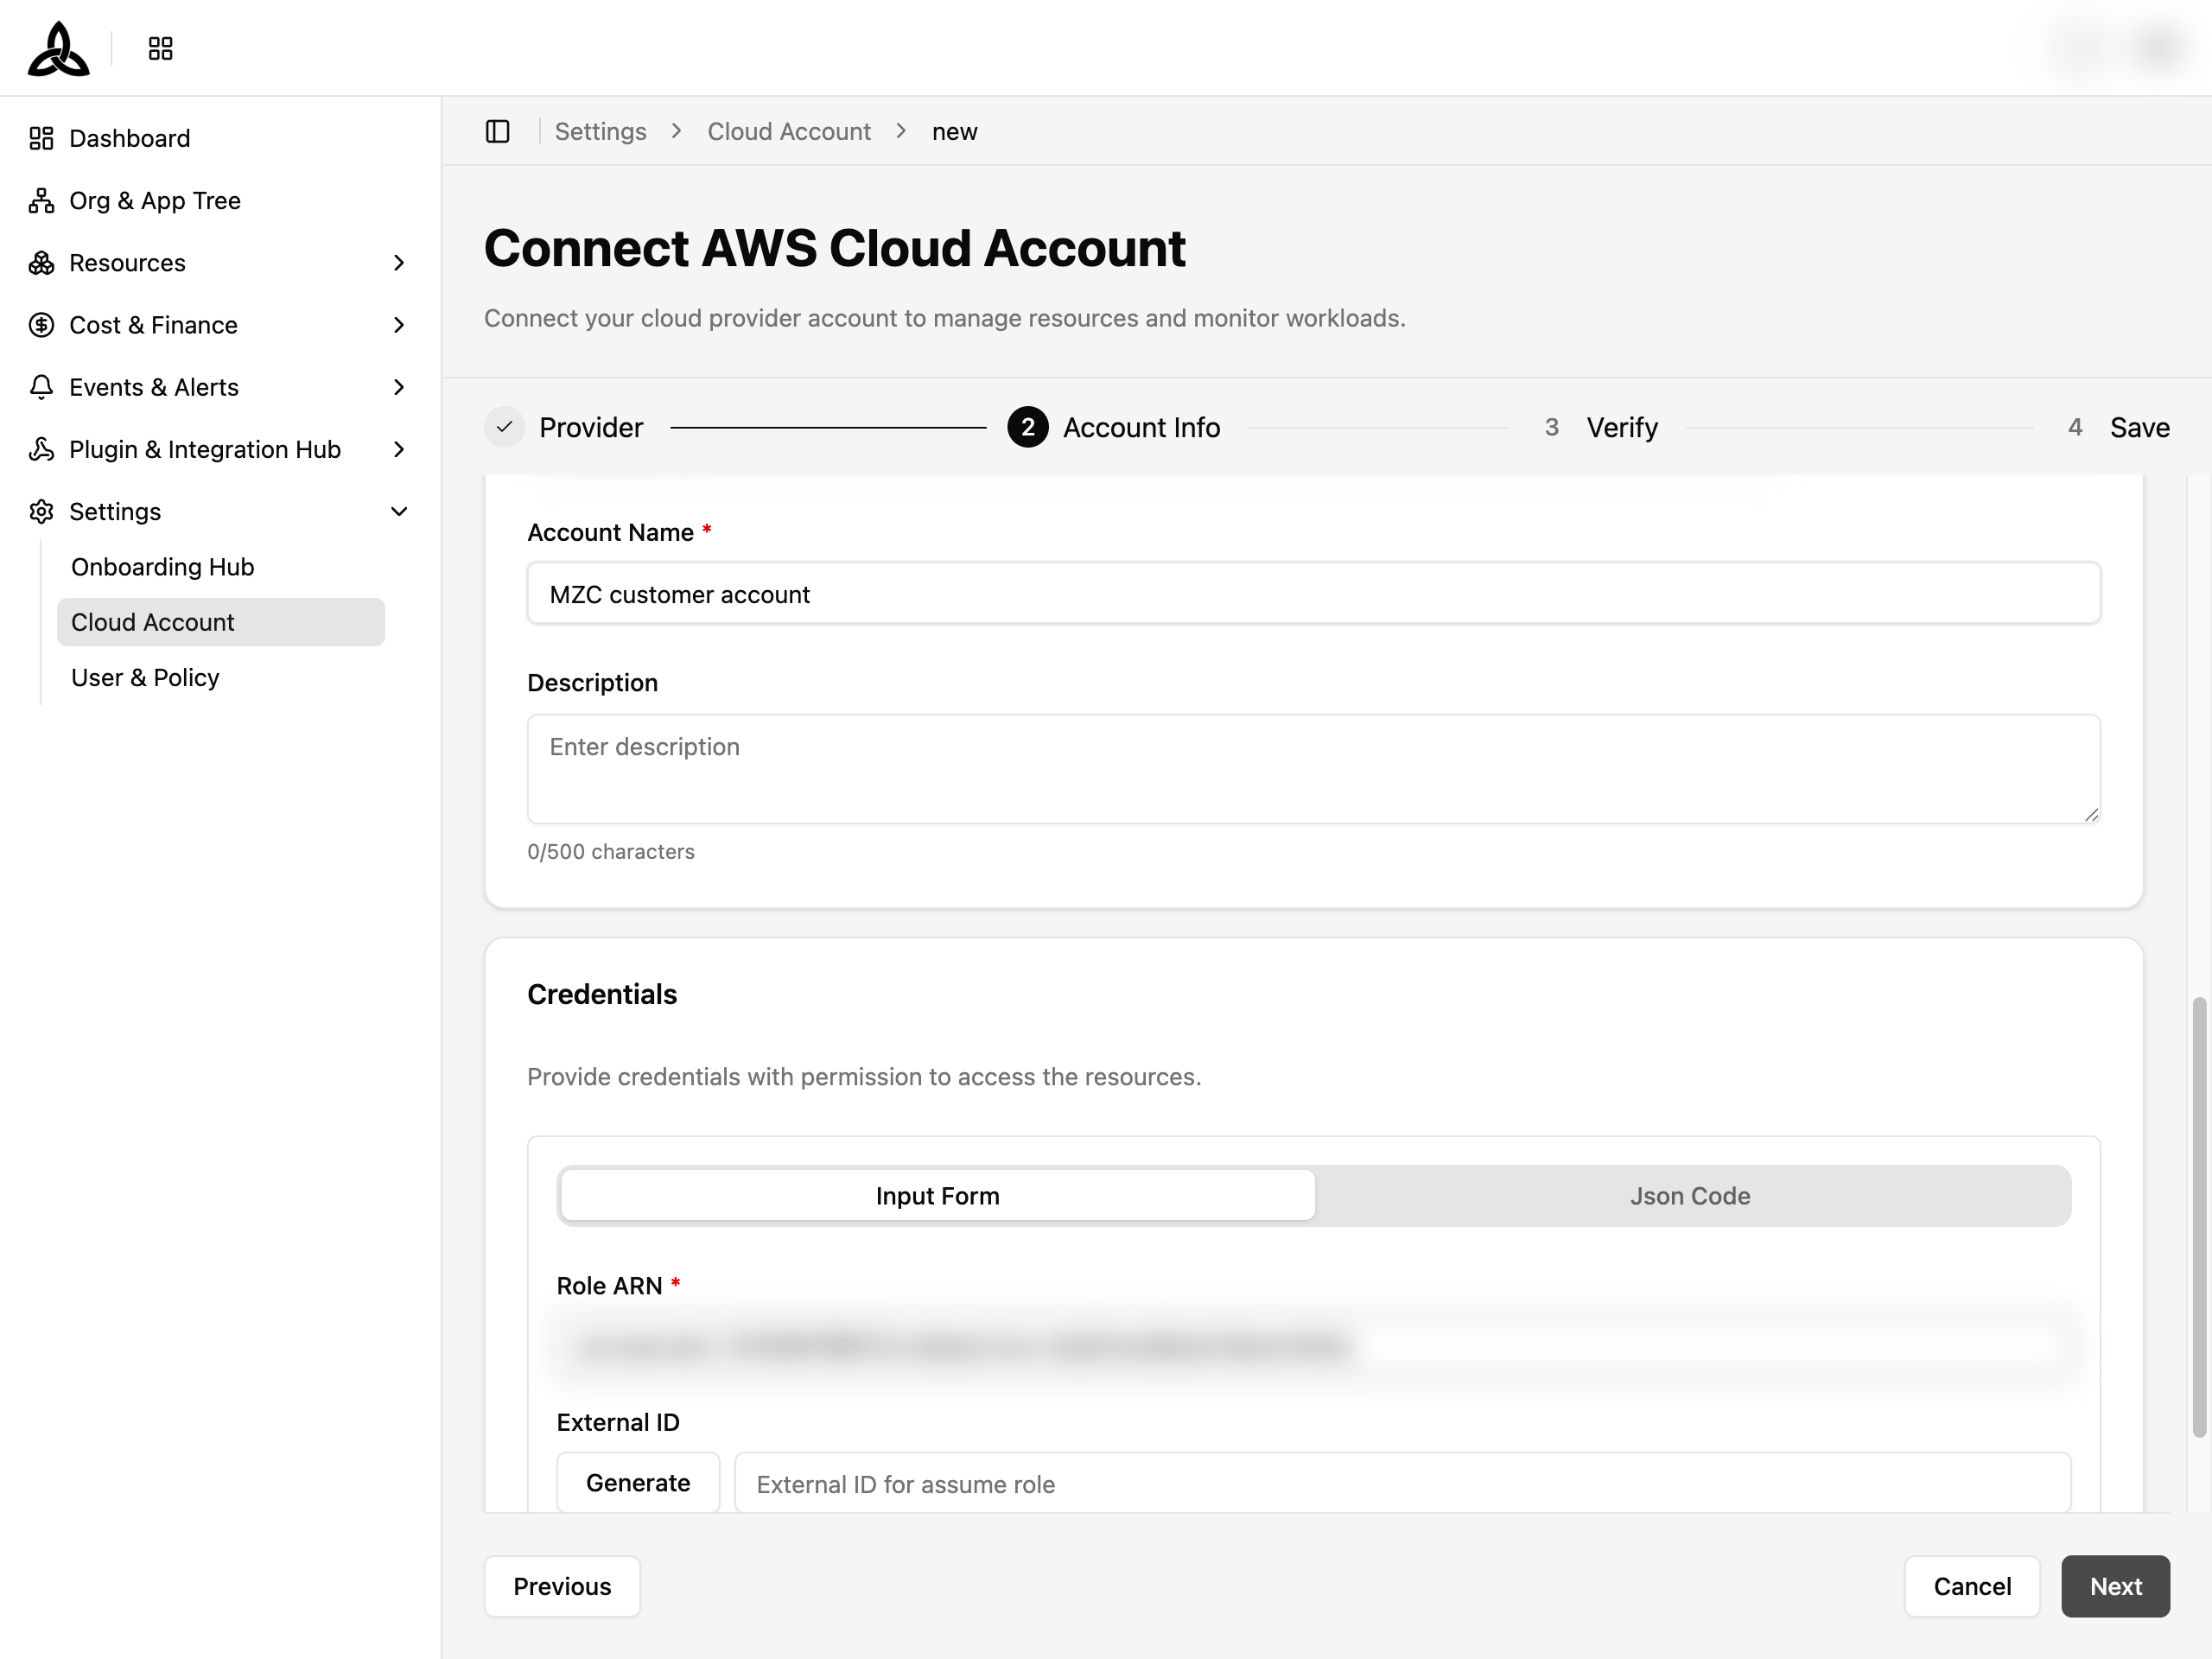
② General Account — the page title shows Connect General Account.
- Connection Method: choose one:
- Direct (Access Key) → enter AWS Access Key ID / Secret Access Key independently.
- Delegated (Assumed Role) → select the Parent Root Account (Bridge), then enter the Role ARN and External ID in credentials.
Verify
CloudOps verifies the entered credentials through Credential Format Verification and Account Validity Check. Once verification succeeds, proceed to the next step.
If verification fails, check the following:
- Credentials: Confirm that the AWS Access Key ID and Secret Access Key (or Role ARN) are correct.
- Verification permission: Account validity check calls the
sts:GetCallerIdentityAPI. The IAM policy must include thests:GetCallerIdentitypermission. - Resource collection permissions: Verify that the read-only permissions defined in the Access Key Method IAM Policy JSON are granted to the service account.
Save
Review the summary, then click [Connect] to finalize. The integration completes and resource/cost collection begins.