Service Accounts
On the [Operations > Service Accounts] page, you can register and manage service accounts for collecting cloud resources and cost data.
Account Types
Service accounts are organized into two tabs:
| Tab | Description |
|---|---|
| General Accounts | Standard cloud provider accounts for resource collection. Can optionally attach to a Trusted Account for credential management |
| Trusted Accounts | Privileged accounts that manage credentials on behalf of General Accounts. General Accounts can inherit credentials from a linked Trusted Account |
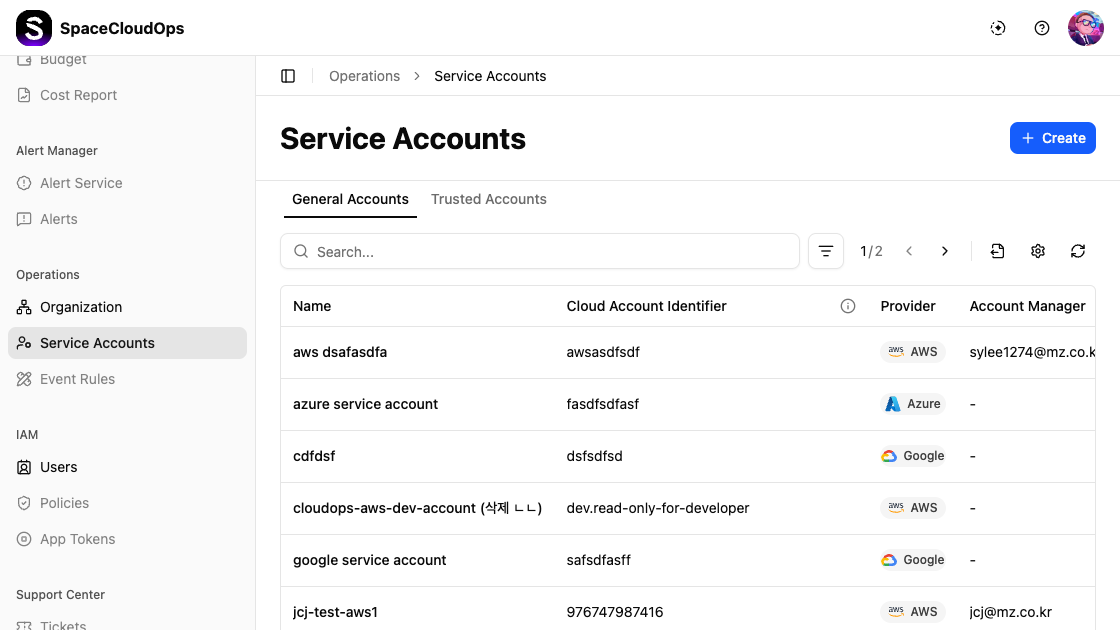
General Accounts
The General Accounts tab displays service accounts in a table with the following columns:
| Column | Description |
|---|---|
| Name | The name of the service account |
| Cloud Account Identifier | The cloud account ID or identifier |
| Status | Account status — Active, Inactive, Pending, or Deleted |
| Provider | The cloud provider (AWS, Azure, Google, OCI) with an icon |
| Account Manager | The email of the assigned account manager |
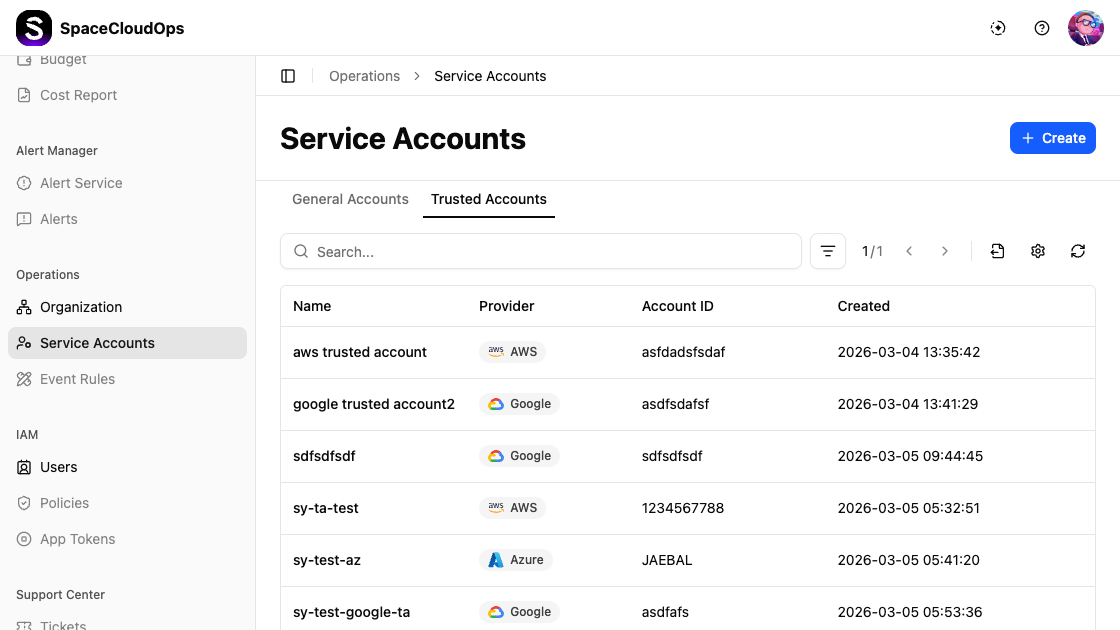
Trusted Accounts
The Trusted Accounts tab shows trusted accounts with different columns:
| Column | Description |
|---|---|
| Name | The name of the trusted account |
| Provider | The cloud provider with an icon |
| Account ID | The account identifier |
| Created | The creation date and time |
Searching and Filtering

| UI Element | Description |
|---|---|
| Search | Enter keywords in the search bar to find specific service accounts |
| Filter | Click the filter icon to filter by provider and status |
| Pagination | Navigate between pages (e.g., 1/2) |
| Export | Export service account data |
| Settings | Configure table columns |
| Refresh | Reload the service account list |
Service Account Detail
Click a service account row to navigate to its detail page.
The detail page header shows the account name, a delete icon (trash), and a [Connect to Console] button to open the cloud provider’s console.
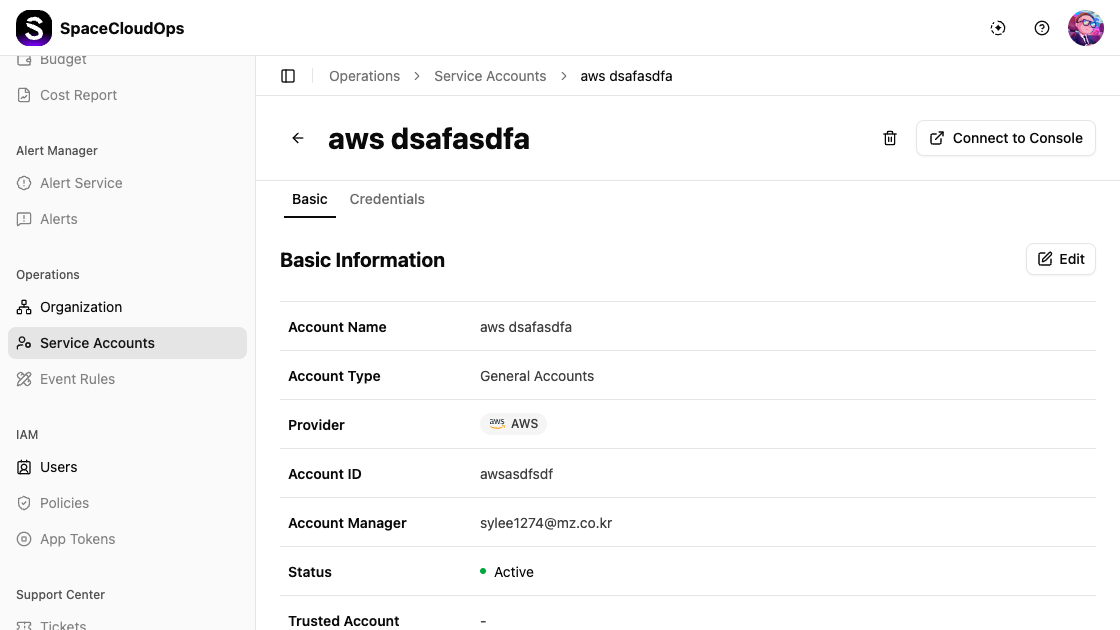
General Account Detail
The detail page for General Accounts has two tabs: Basic and Credentials.
Basic Tab
The Basic tab displays the account’s basic information with an [Edit] button.
| Field | Description |
|---|---|
| Account Name | Name of the service account |
| Account Type | Type of account (General Accounts or Trusted Accounts) |
| Provider | Cloud provider with icon (e.g., AWS) |
| Account ID | The account identifier |
| Account Manager | The assigned manager’s email |
| Status | Connection status (e.g., Active) |
| Trusted Account | The linked trusted account (if any) |
| Created | Creation timestamp |
| Tags | Custom key-value tags |
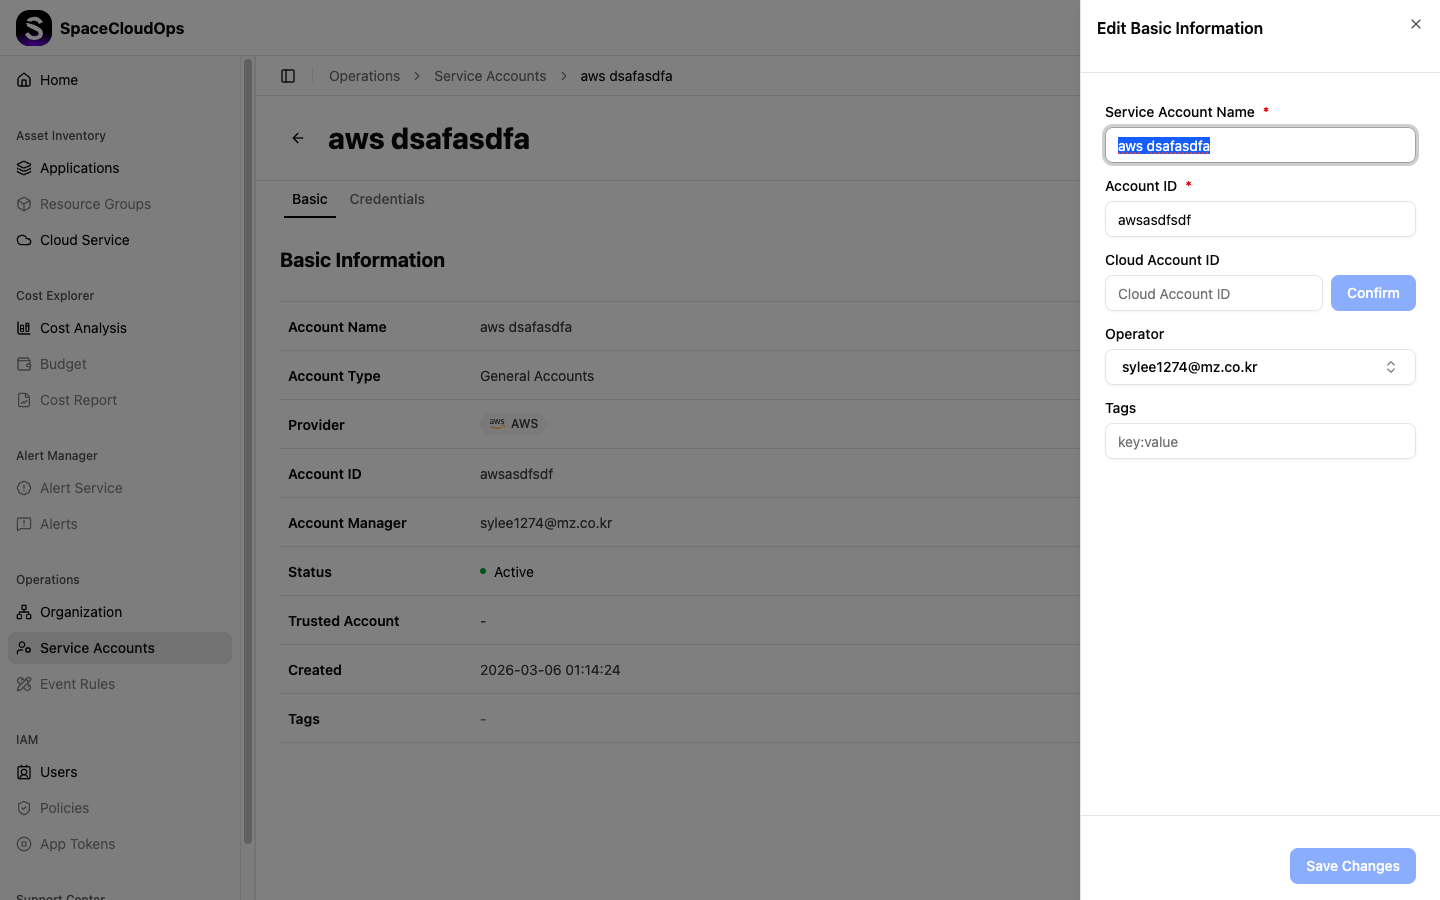
Click [Edit] to modify the basic information. The edit form allows you to change:
- Service Account Name
- Account ID
- Cloud Account ID
- Operator
- Tags
Click [Save Changes] to apply modifications.
Credentials Tab
The Credentials tab manages authentication credentials for the service account.
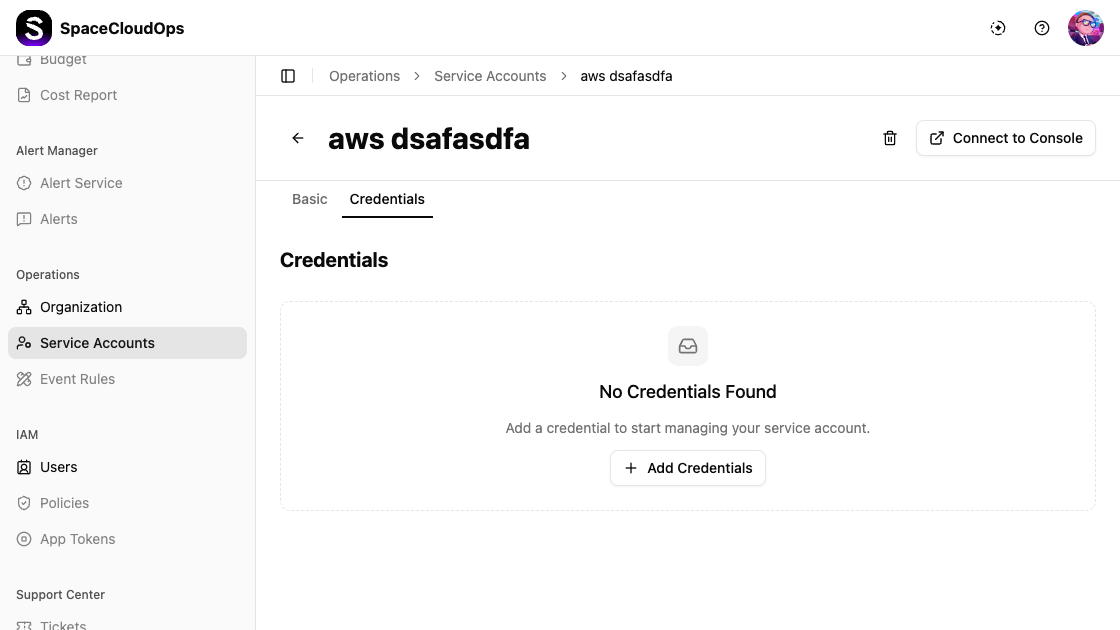
When no credentials are configured, it displays “No Credentials Found” with the message “Add a credential to start managing your service account.” and a [+ Add Credentials] button.
All credential values are masked for security.
Trusted Account Detail
The detail page for Trusted Accounts has three tabs: Basic, Attached Account, and Credentials.
Basic Tab
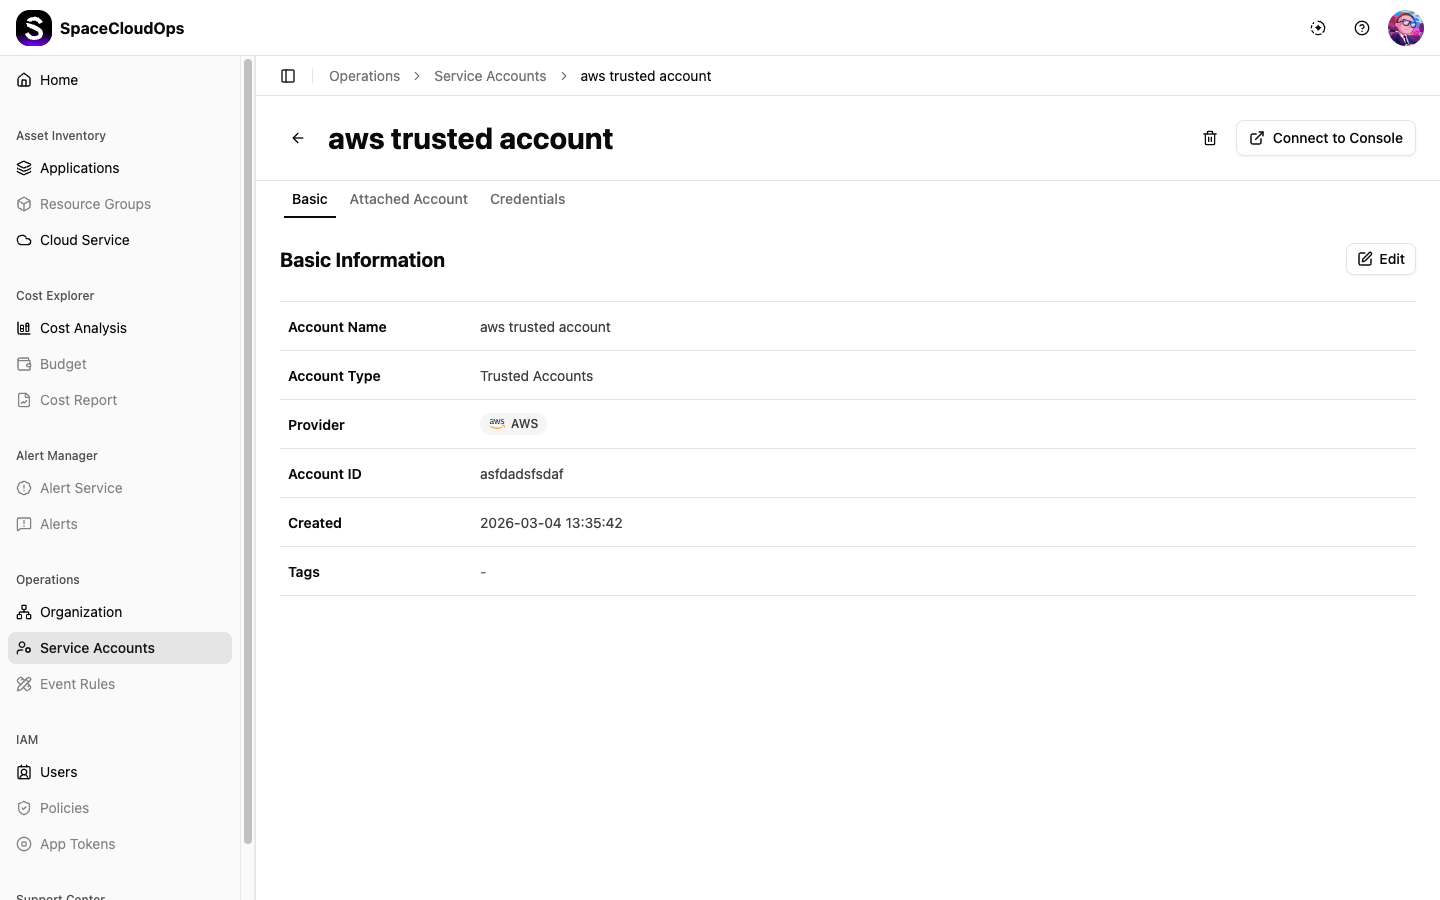
| Field | Description |
|---|---|
| Account Name | The trusted account name |
| Account Type | Trusted Accounts |
| Provider | The cloud provider with icon |
| Account ID | The cloud account identifier |
| Created | Creation timestamp |
| Tags | Custom key-value tags |
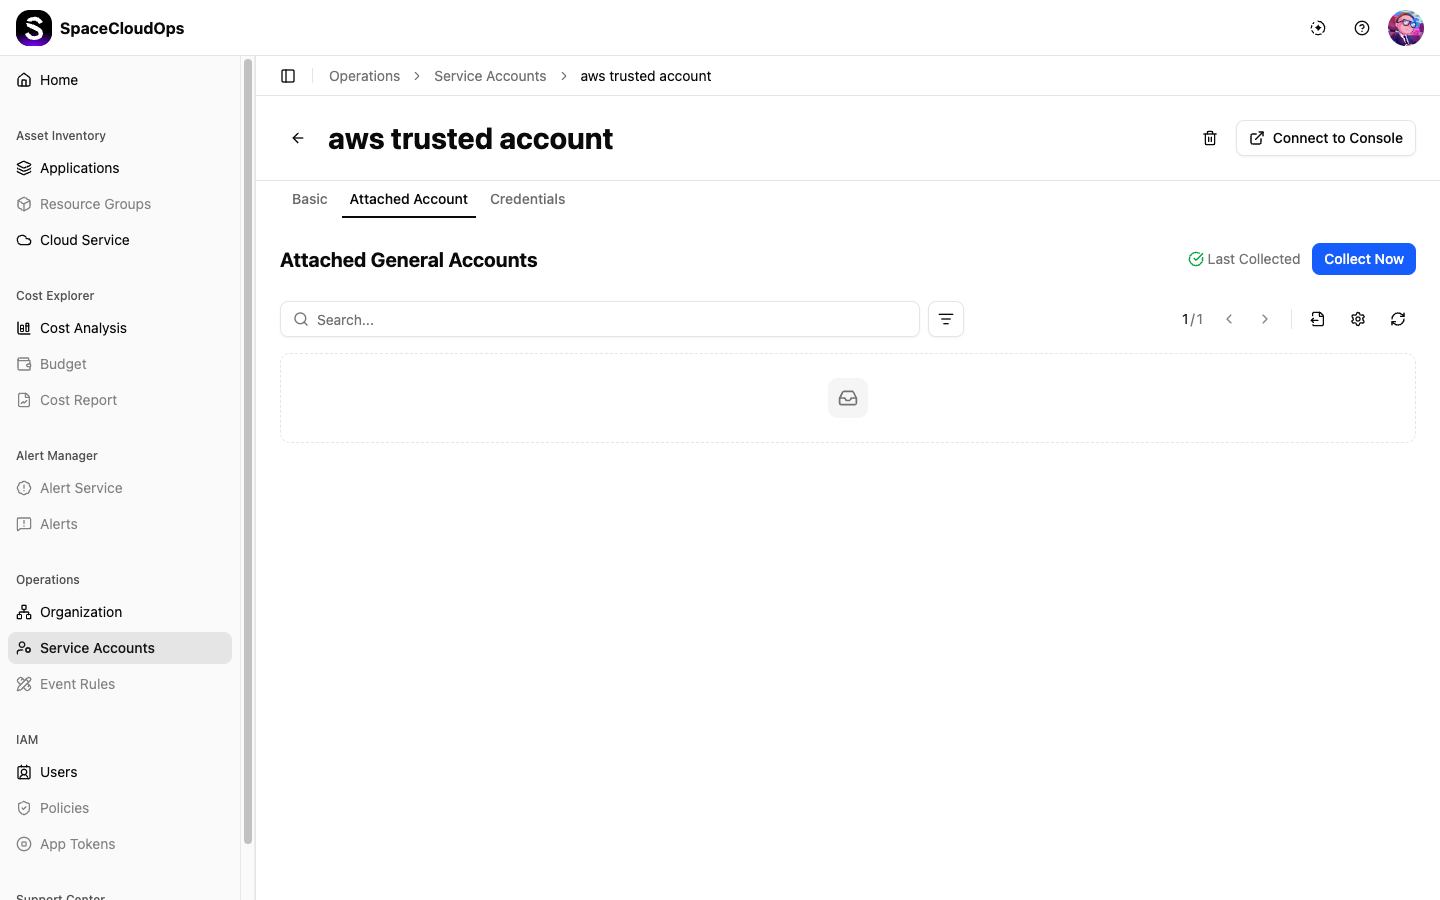
Attached Account Tab
The Attached Account tab shows all General Accounts linked to this Trusted Account:
| Column | Description |
|---|---|
| Account Name | The linked general account name |
| Account ID | The cloud account identifier |
| Status | Account status |
| Last Collected | Last data collection timestamp |
| Created | Creation timestamp |
Use the [Collect Now] button to trigger an immediate data collection sync for all attached accounts.
Creating a Service Account
Click [+ Create] Button
Click the [+ Create] button in the upper right corner of the Service Accounts page.
Step 1: Select Provider & Account Type
Select a cloud provider and account type for the service account.

| Field | Required | Description |
|---|---|---|
| Provider | Yes | Select a cloud provider: AWS, Azure, Google, or OCI |
| Account Type | Yes | Choose General Account or Trusted Account |
Click [Next] to proceed to Step 2.
Step 2: Enter Basic Information
Fill in the service account details.
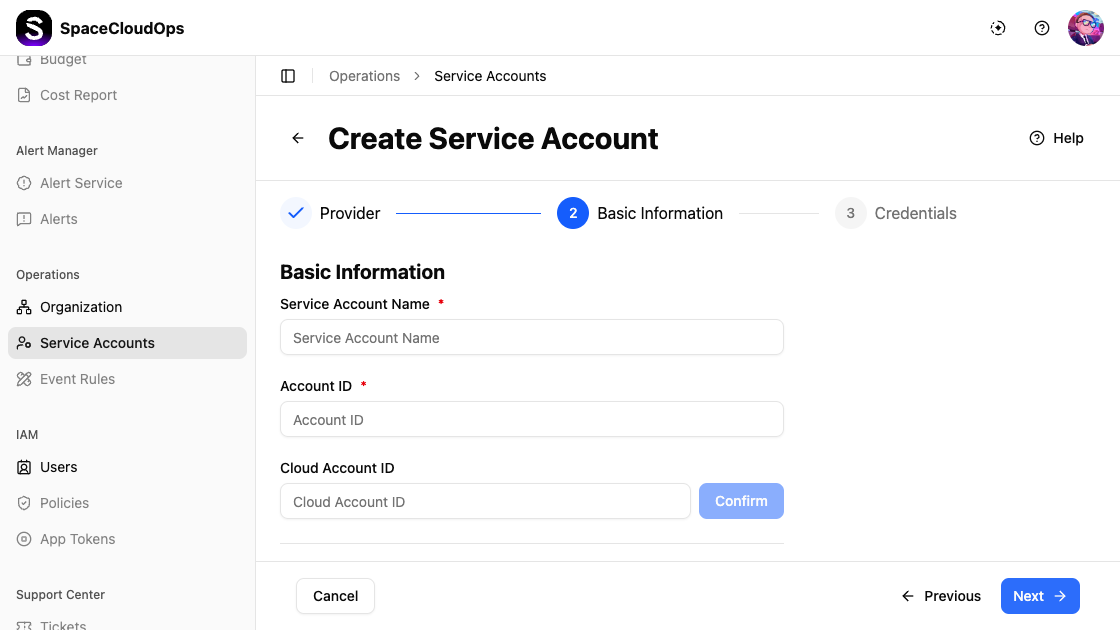
| Field | Required | Description |
|---|---|---|
| Service Account Name | Yes | A unique name for the service account |
| Account ID | Yes | The cloud provider’s account identifier |
| Cloud Account ID | No | An additional cloud account identifier. Click [Confirm] to validate |
| Operator | No | Select the user responsible for this account |
| Tags | No | Add custom key-value tags in key:value format |
Click the [Help] link in the upper right for guidance on finding your account credentials. Click [Previous] to go back to Step 1, or [Next] to proceed.
Step 3: Configure Credentials
Enter the authentication credentials for the selected cloud provider.
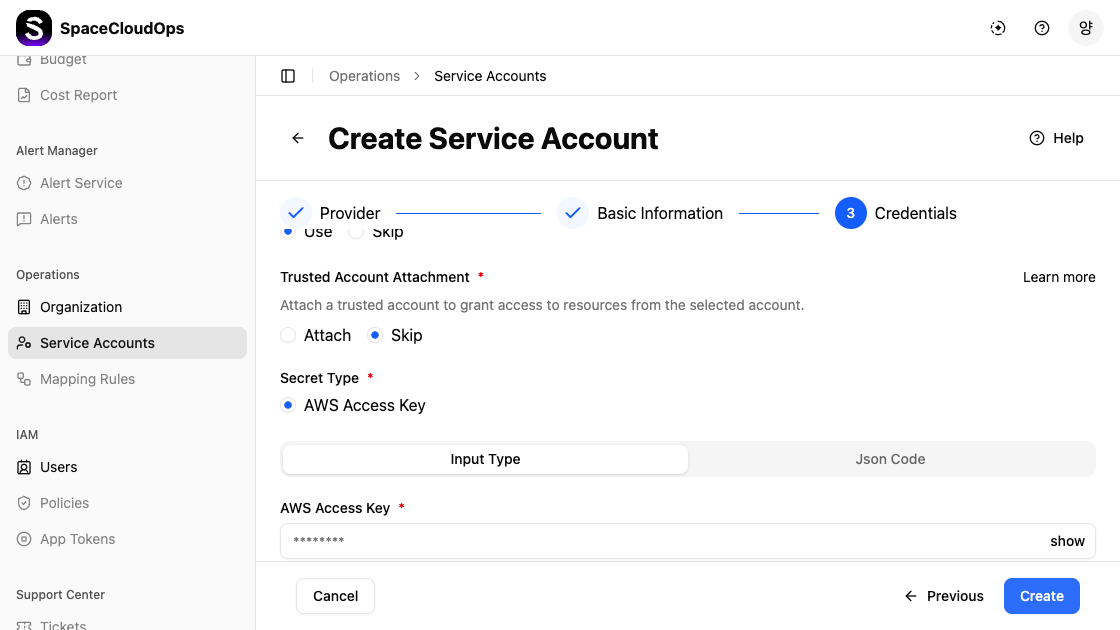
| Field | Required | Description |
|---|---|---|
| Use / Skip | Yes | Choose to enter credentials directly (Use) or skip this step (Skip) |
| Trusted Account Attachment | Yes | Attach to link an existing Trusted Account, or Skip to configure independently |
| Secret Type | Yes | The credential type for the selected provider (e.g., AWS Access Key) |
| Input Type / Json Code | — | Toggle between a structured form (Input Type) or raw JSON (Json Code) to enter credential values |
| Credential Fields | Yes | Provider-specific fields (e.g., AWS Access Key) — values are masked for security |
Complete Creation
Click the confirm button to create the service account. It will appear in the service accounts list.
Editing a Service Account
On the service account detail page (Basic tab), click the [Edit] button to modify account information such as name, account ID, operator, and tags. Click [Save Changes] to apply.
Deleting a Service Account
Open the delete dialog
On the service account detail page, click the delete icon (trash) in the upper right corner.
Confirm deletion
Type the service account name in the input field to confirm. The [Delete] button becomes active only after entering the correct name.
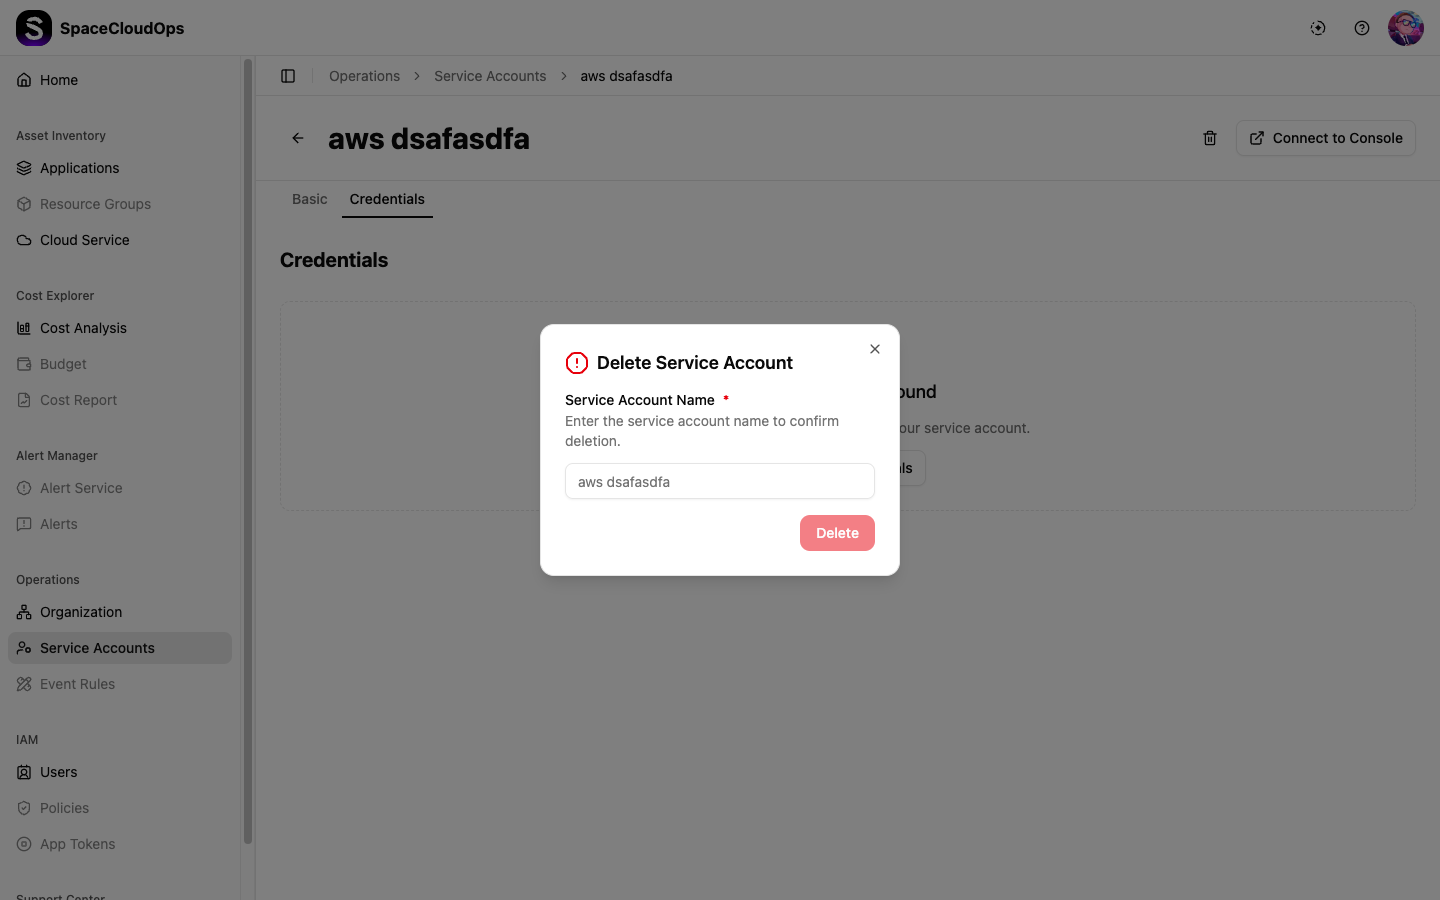
Click [Delete]
Click the [Delete] button to permanently remove the service account.