Applications
On the [Asset Inventory > Applications] page, you can create and manage applications to group and organize your cloud resources. Applications serve as management units that organize resources by purpose, service, or team, providing a consolidated view of resource counts and costs.
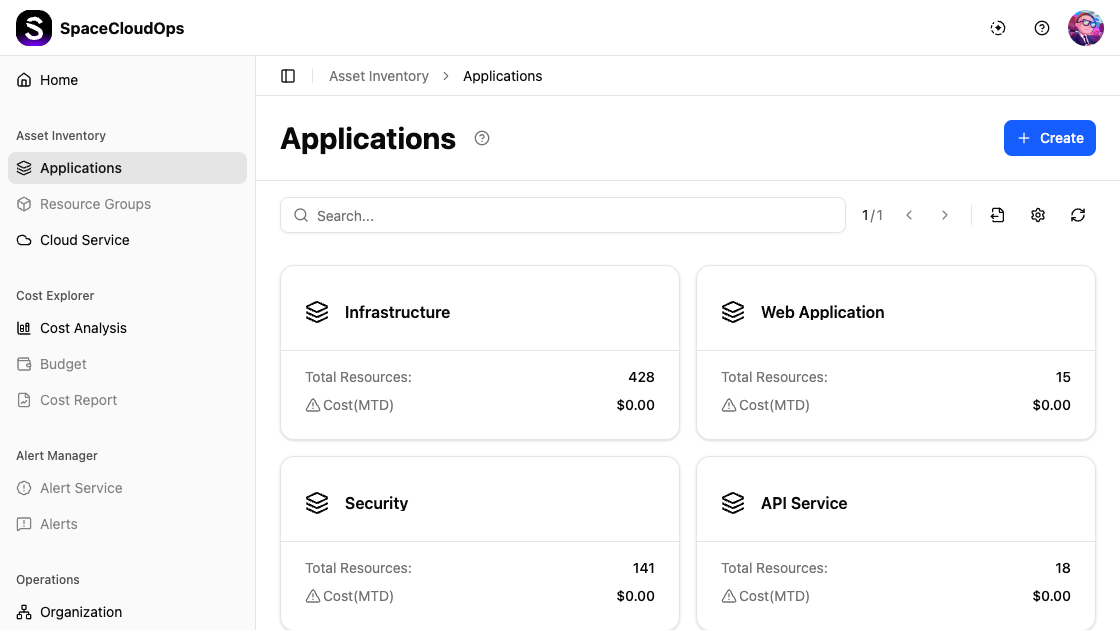
Viewing Applications
Applications are displayed as cards in a grid layout. Each card shows the following information:
| Field | Description |
|---|---|
| Application Name | The name of the application (e.g., Infrastructure, Web Application) |
| Total Resources | The total number of cloud resources grouped under this application |
| Cost(MTD) | Month-to-date cost associated with the application |
Hover over a card to reveal the more menu (⋯), which provides the Delete option.
Search and Toolbar

| UI Element | Description |
|---|---|
| Search | Search applications by keyword |
| Pagination | Navigate between pages (e.g., 1/1) |
| Export | Download the application list as an Excel file |
| Settings | Configure display options (items per page) |
| Refresh | Reload the application list |
Application Detail
Click an application card to view its detail page. The detail page has three tabs: Basic, Resources, and Topology.
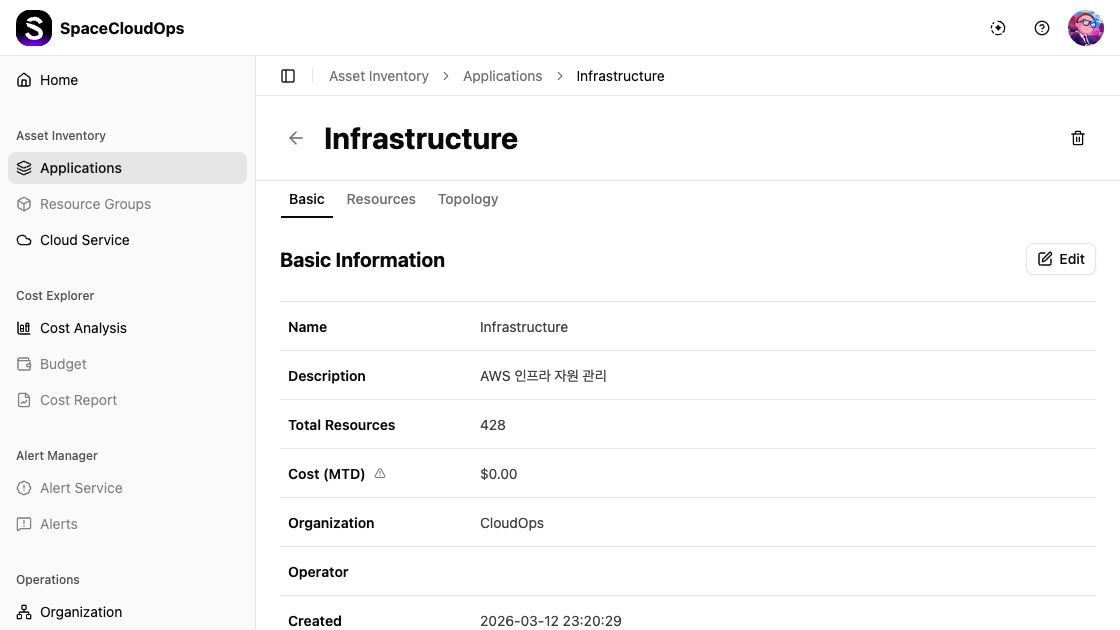
Basic Tab
The Basic tab displays the application’s basic information.
| Field | Description |
|---|---|
| Name | Application name |
| Description | Application description |
| Total Resources | Number of assigned cloud resources |
| Cost (MTD) | Month-to-date cost |
| Target Account | The service accounts linked to this application |
| Organization | The organizational unit this application belongs to |
| Operator | The person responsible for managing this application |
| Created | Creation date and time |
| Updated | Timestamp of the last update |
Click the [Edit] button to modify the basic information.
Resources Tab
The Resources tab shows all cloud resources assigned to this application.
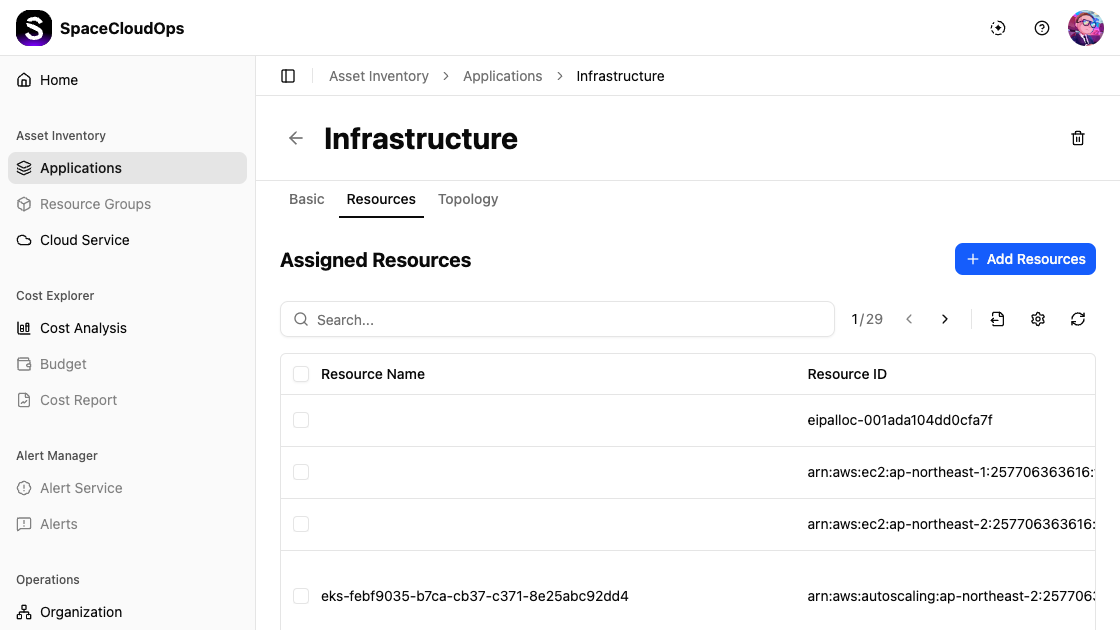
Resources are displayed in a table with the following columns:
| Column | Description |
|---|---|
| Resource Name | The name of the cloud resource |
| Resource ID | The unique identifier (ARN, resource ID, etc.) |
| Status | Resource status — Active or Deleted |
| Provider | The cloud provider (AWS, Azure, Google, etc.) |
| Cloud Service Group / Type | The service category and type (e.g., EC2 > Instance) |
| Region | The cloud region where the resource is deployed |
| Account ID | The associated service account identifier |
| Assigned Unit | The organizational unit the resource belongs to |
| Operator | The operator responsible for this resource |
| Tags | Custom key-value tags |
Use the toolbar to manage resources:
| UI Element | Description |
|---|---|
| [+ Add Resources] | Add new cloud resources to this application |
| Search | Search resources by keyword |
| Pagination | Navigate between pages |
| Export | Export resource data |
| Settings | Configure table columns and items per page |
| Refresh | Reload the resource list |
Adding Resources
Open the Add Resources sheet
Click the [+ Add Resources] button on the Resources tab.

Select cloud services from the tree
On the left panel, expand the cloud provider tree (e.g., AWS) and check the service types you want to browse.
Select resources
The right panel shows resources matching your selection. Use checkboxes to select the resources you want to add.
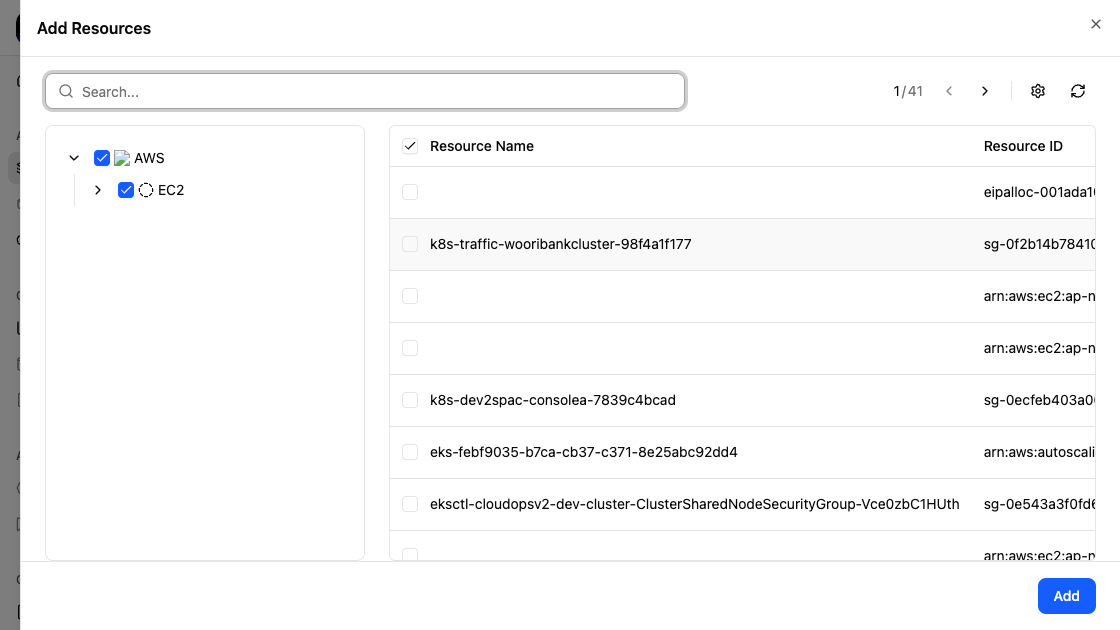
Click [Add]
Click the [Add] button at the bottom to assign the selected resources to the application.
Removing Resources
Select resources to remove
On the Resources tab, use the checkboxes to select one or more resources.
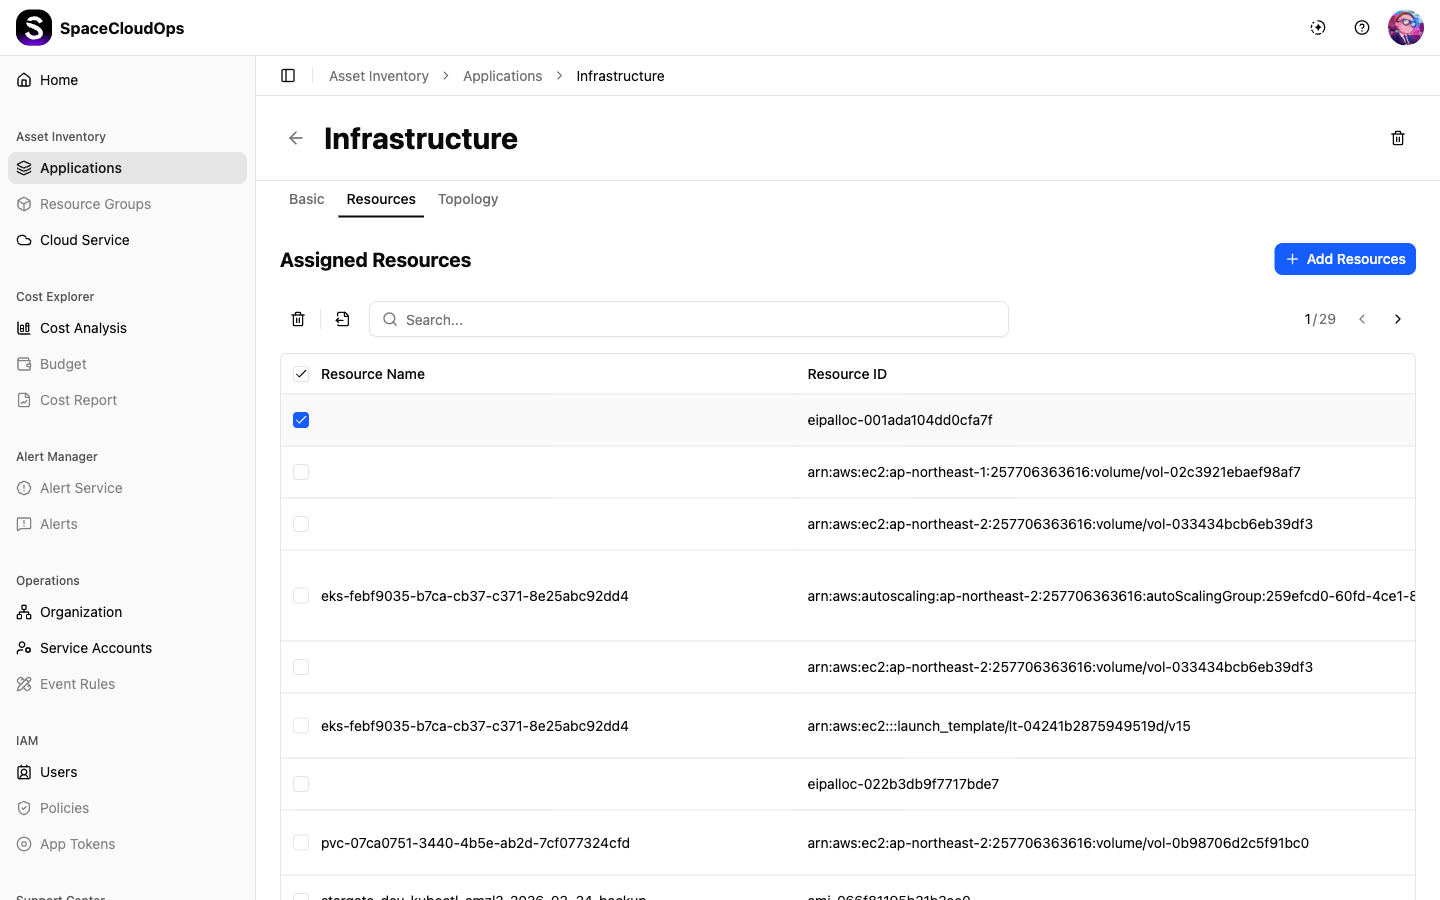
Click the delete icon
Click the delete icon (trash) that appears in the toolbar after selecting resources.
Confirm removal
Review the resources to be removed and click [Delete] to confirm.
Topology Tab
The Topology tab provides a visual map of the application’s resource relationships.
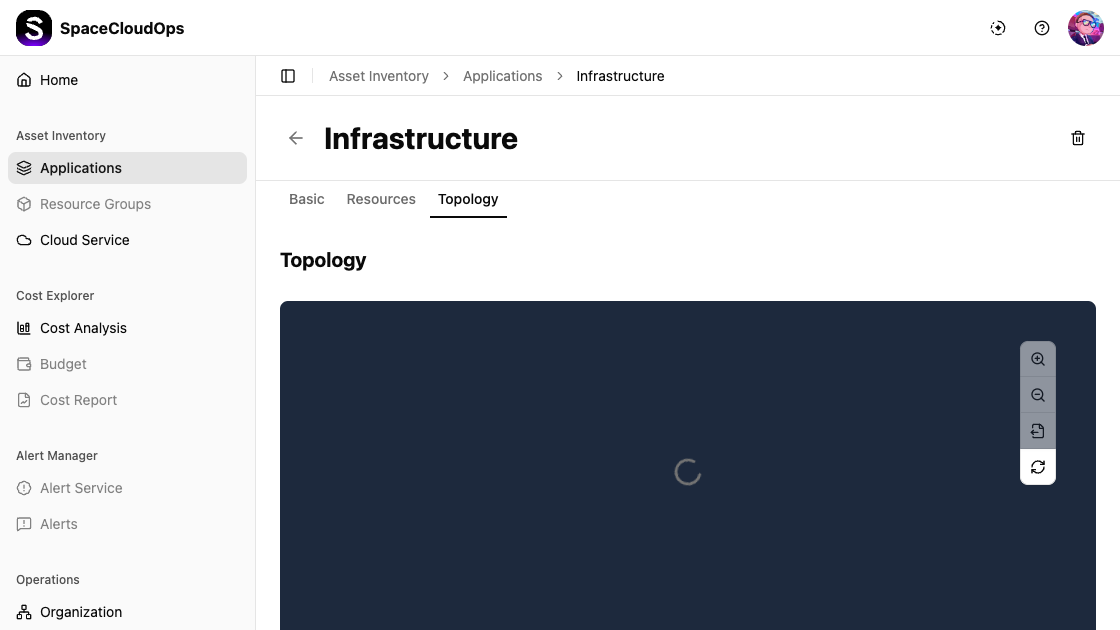
Use the controls to interact with the topology view:
| Control | Description |
|---|---|
| Zoom In / Out | Enlarge or shrink the topology view |
| Fit to Screen | Fit the entire topology within the viewport |
| Export | Download the diagram as an image |
| Refresh | Reload the topology data |
Creating an Application
Click [+ Create] Button
Click the [+ Create] button in the upper right corner of the Applications page.
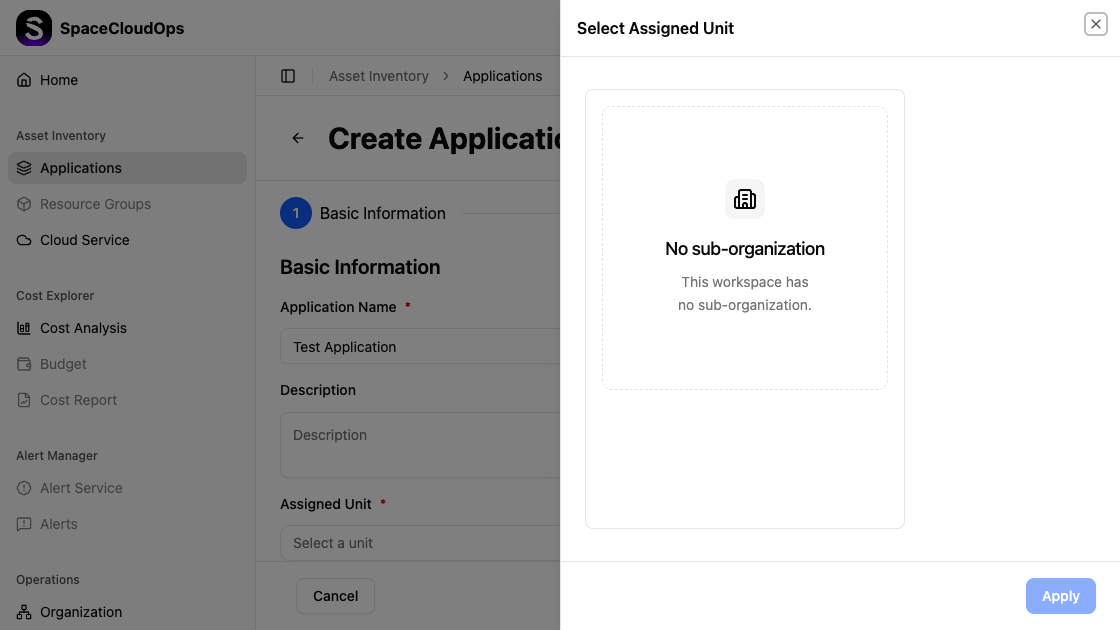
Enter Basic Information
Fill in the application details in Step 1 of the creation form.

| Field | Required | Description |
|---|---|---|
| Application Name | Yes | Enter a name for the application |
| Description | No | Optional description of the application |
| Target Account | Yes | Select the target service account(s) |
| Assigned Unit | Yes | Select the organizational unit from the dropdown |
| Operator | Yes | Select the operator responsible for this application |
Assign Resources
Click [Next] to proceed to Step 2, where you can assign cloud resources to the application. You can skip this step and add resources later.
Complete Creation
Click the confirm button to create the application. It will appear as a new card in the applications list.
Editing an Application
Open the application detail page
Click on an application card to view its details.
Click [Edit]
On the Basic tab, click the [Edit] button in the top-right corner.
Modify the fields

The edit form allows you to modify:
- Application Name
- Description
- Target Account
- Assigned Unit
- Operator
Save changes
Click [Save Changes] to apply the modifications.
Deleting an Application
Open the delete dialog
From the application detail page, click the delete icon (trash) in the page header. Alternatively, on the application list page, hover over a card and select Delete from the more menu (⋯).
Confirm deletion
The delete dialog warns that data collection will stop and the action cannot be undone. Type the application name in the input field to confirm.
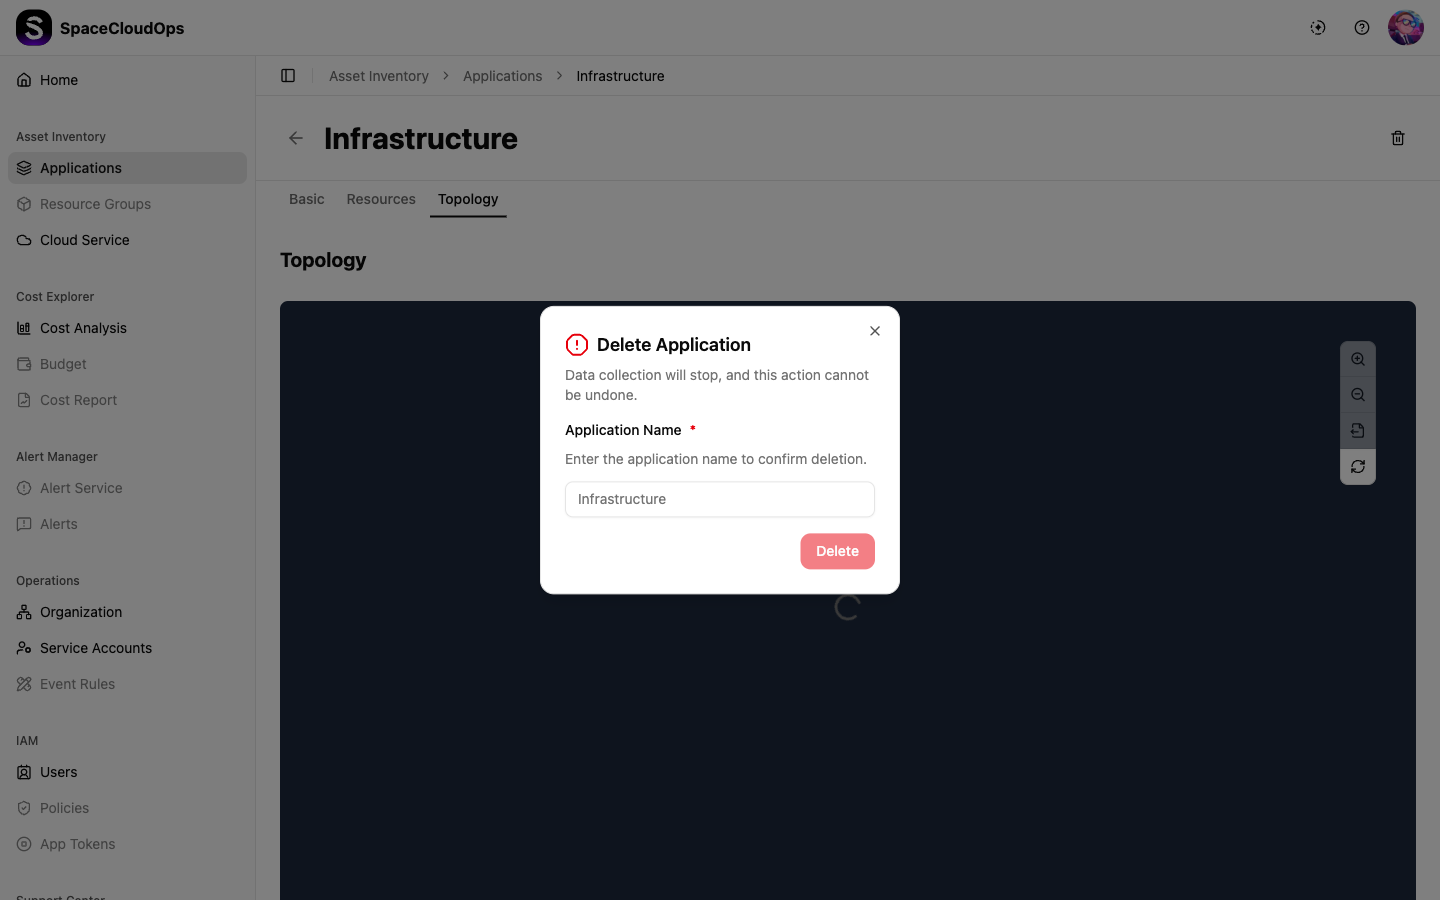
Click [Delete]
The [Delete] button becomes active only after entering the correct application name. Click it to permanently delete the application.